(→Gravity: Improved wording) Tag: Visual edit |
(→Trivia: added link to wikipedia page on mount matterhorn) Tag: Visual edit |
||
| Line 297: | Line 297: | ||
== Trivia == |
== Trivia == |
||
* Internally, the x, y and z coordinates are measured in centimetres (cm). |
* Internally, the x, y and z coordinates are measured in centimetres (cm). |
||
| − | *The large mountain, visible in the backdrop to the |
+ | *The large mountain, visible in the backdrop to the west-southwest, is an accurate resemblance of the real [[wikipedia:Matterhorn|Mount Matterhorn]]. |
== Gallery == |
== Gallery == |
||
Revision as of 19:31, 14 June 2021
| “ | You’re on an uncharted alien planet, so try to be careful, don’t go alone if you don’t have to, and use protection! Who knows what kind of organisms have made this place their home? Or who knows what awesome treasures you’ll find? | „ |
| ~ Caterina Parks's assistant Steve |

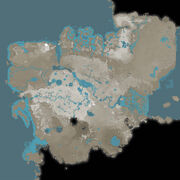
The in-game map
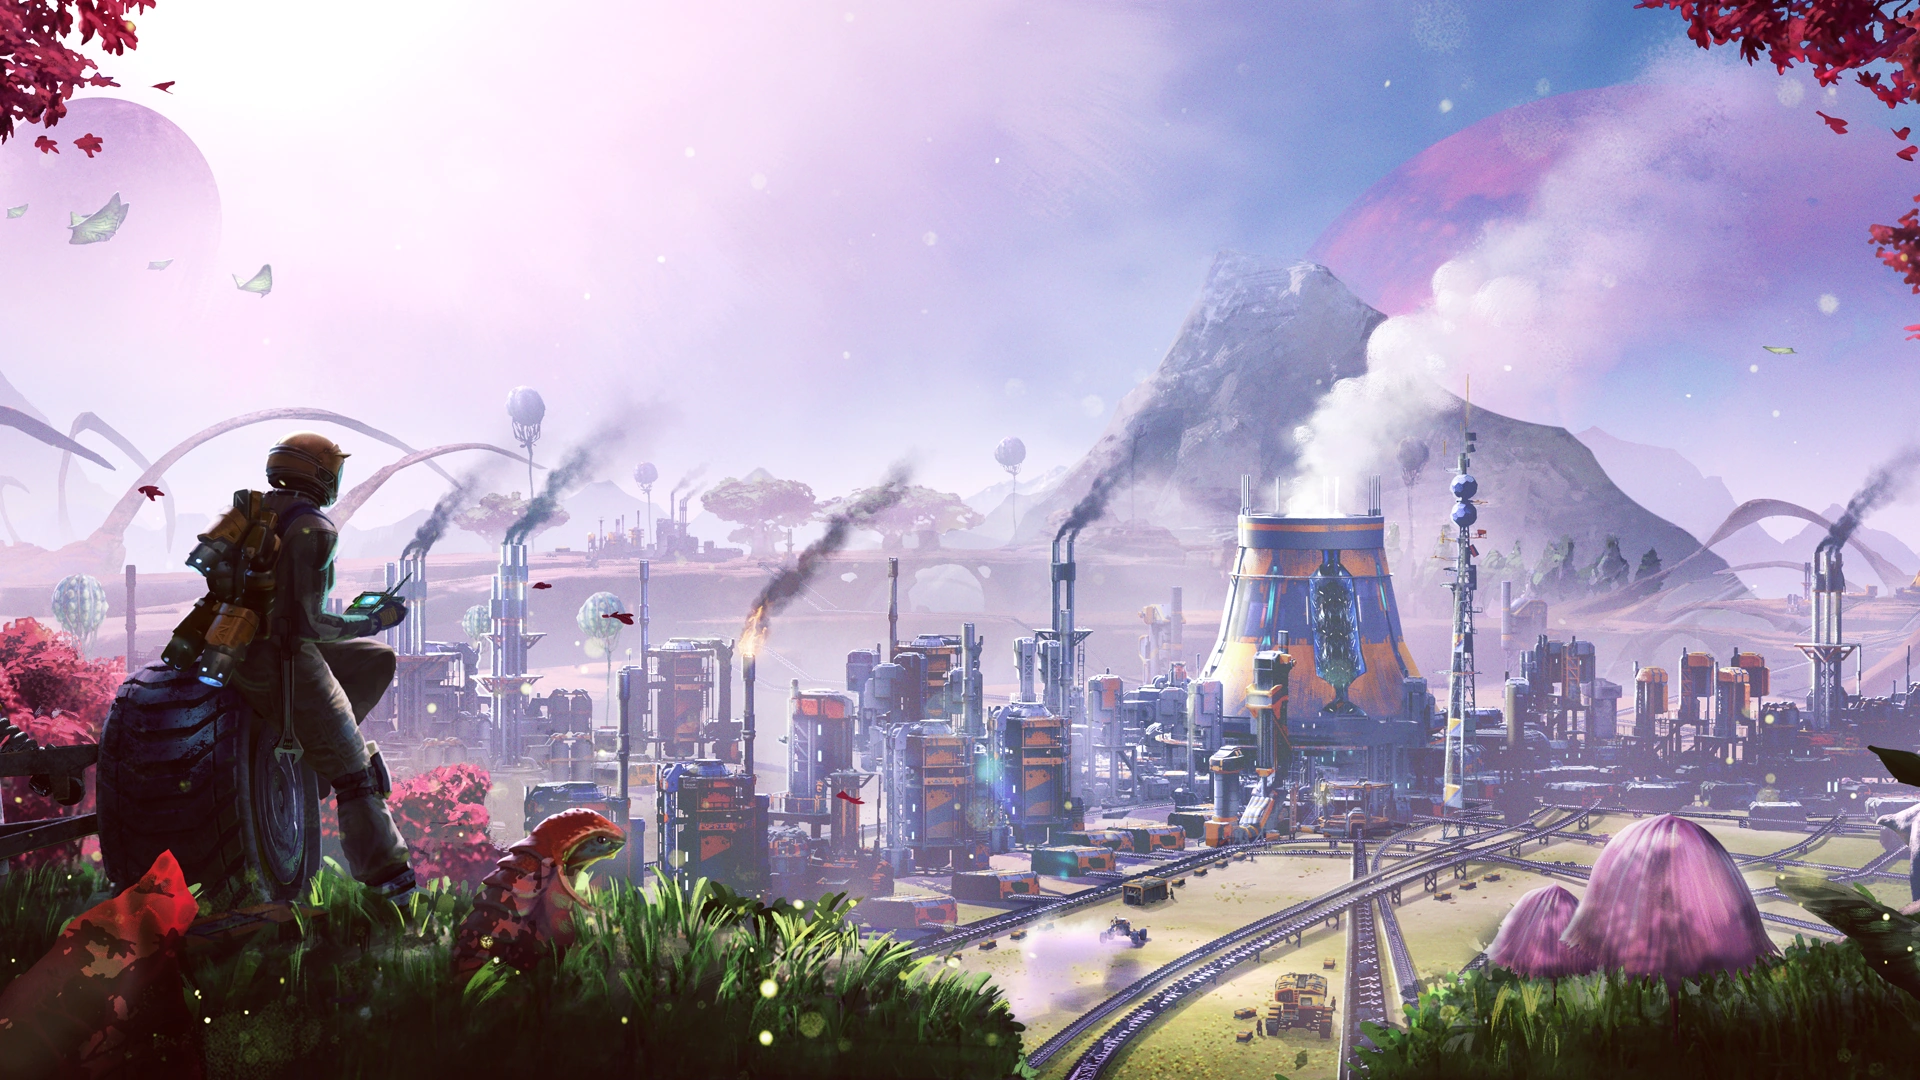
Satisfactory takes place on a single world (or "map"). The map is hand-crafted and features no procedural generation.[1] The land mass is 30 km2 (or 5.4 km x 5.4 km). There are multiple biomes present in the world including deserts, forests, lakes, grass fields, mountains and caves. The landscape cannot be deformed or changed in any way, nor terraformed. There is no changing weather in the world, however there is a Day/Night cycle, and the fog thickness can change throughout the day. Although some machines visually emit smoke or smog, there is no concept of pollution.[2]
The world also contains creatures for the pioneer to encounter, several of which are hostile.
The playable world (in-game referred to as "your FICSIT designated sector") is a part of a planet called MASSAGE-2(A-B)b in the binary star system of Akycha.
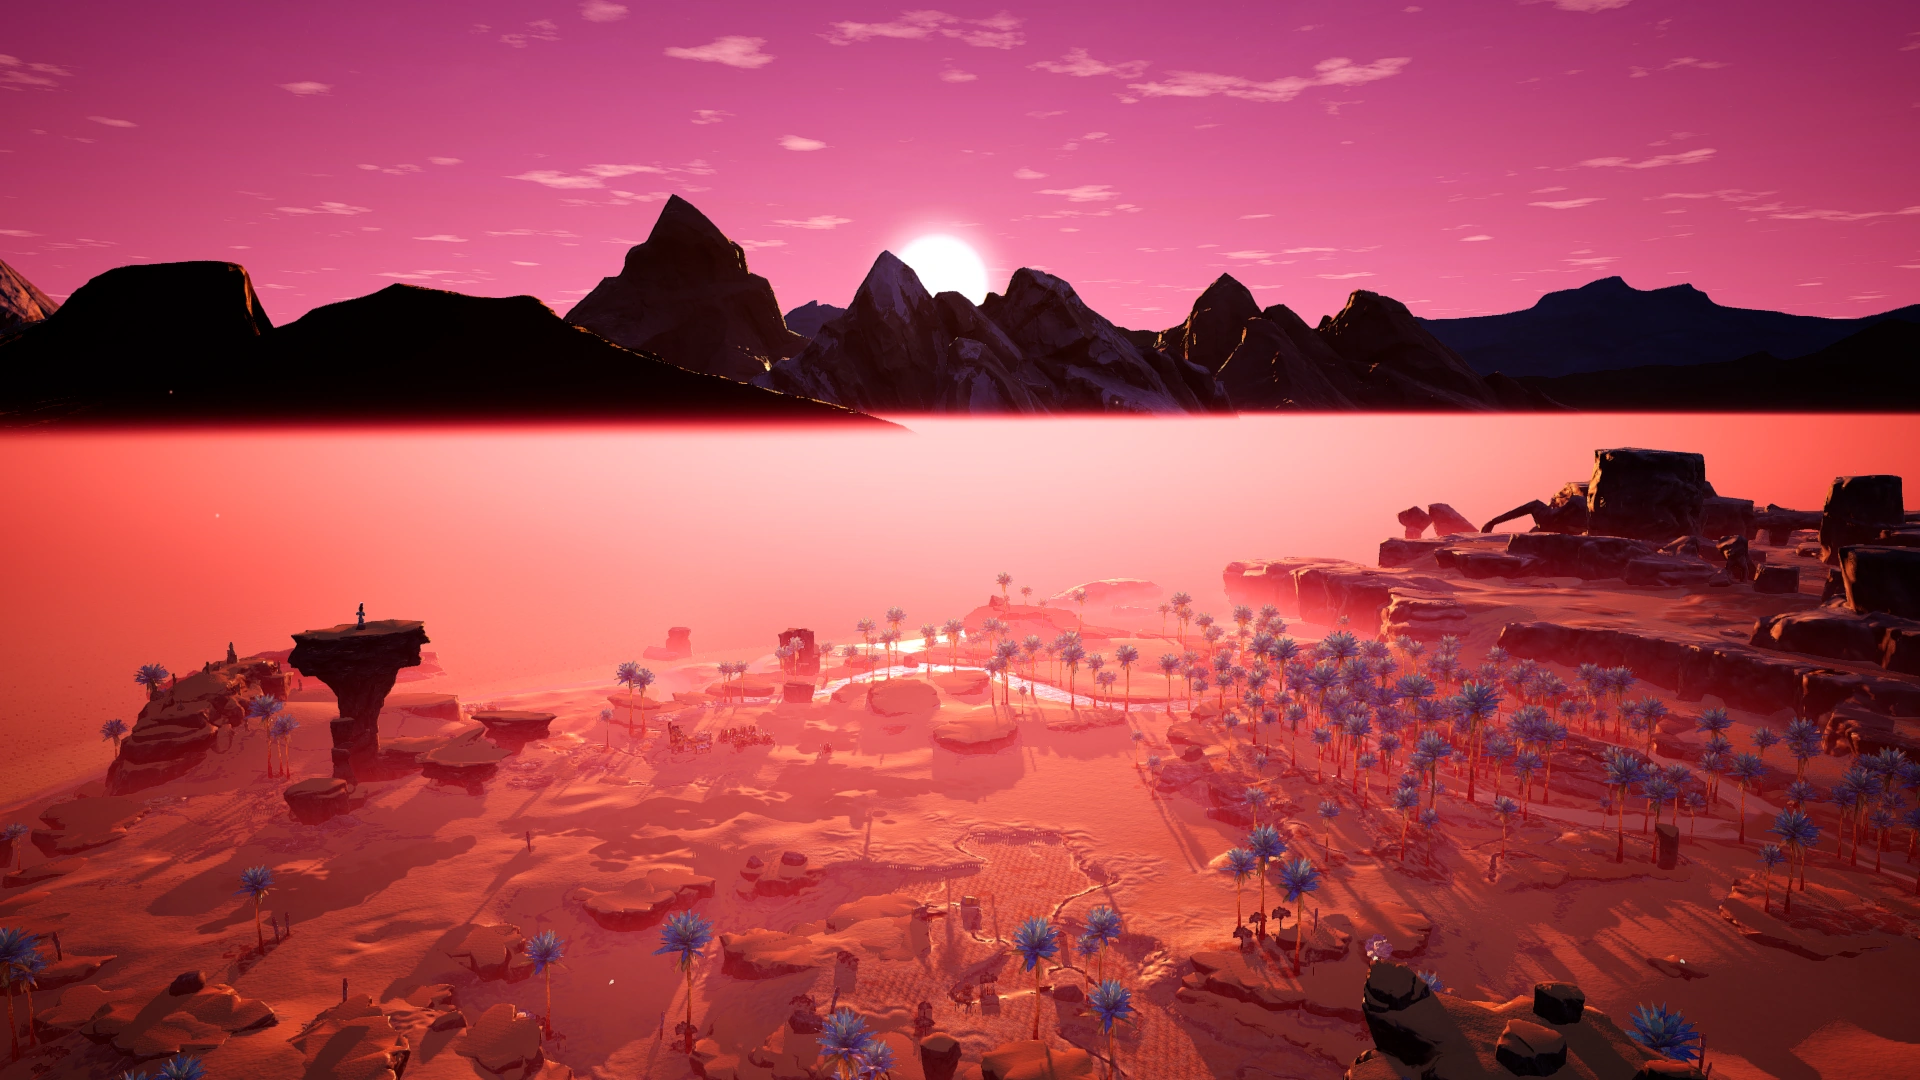
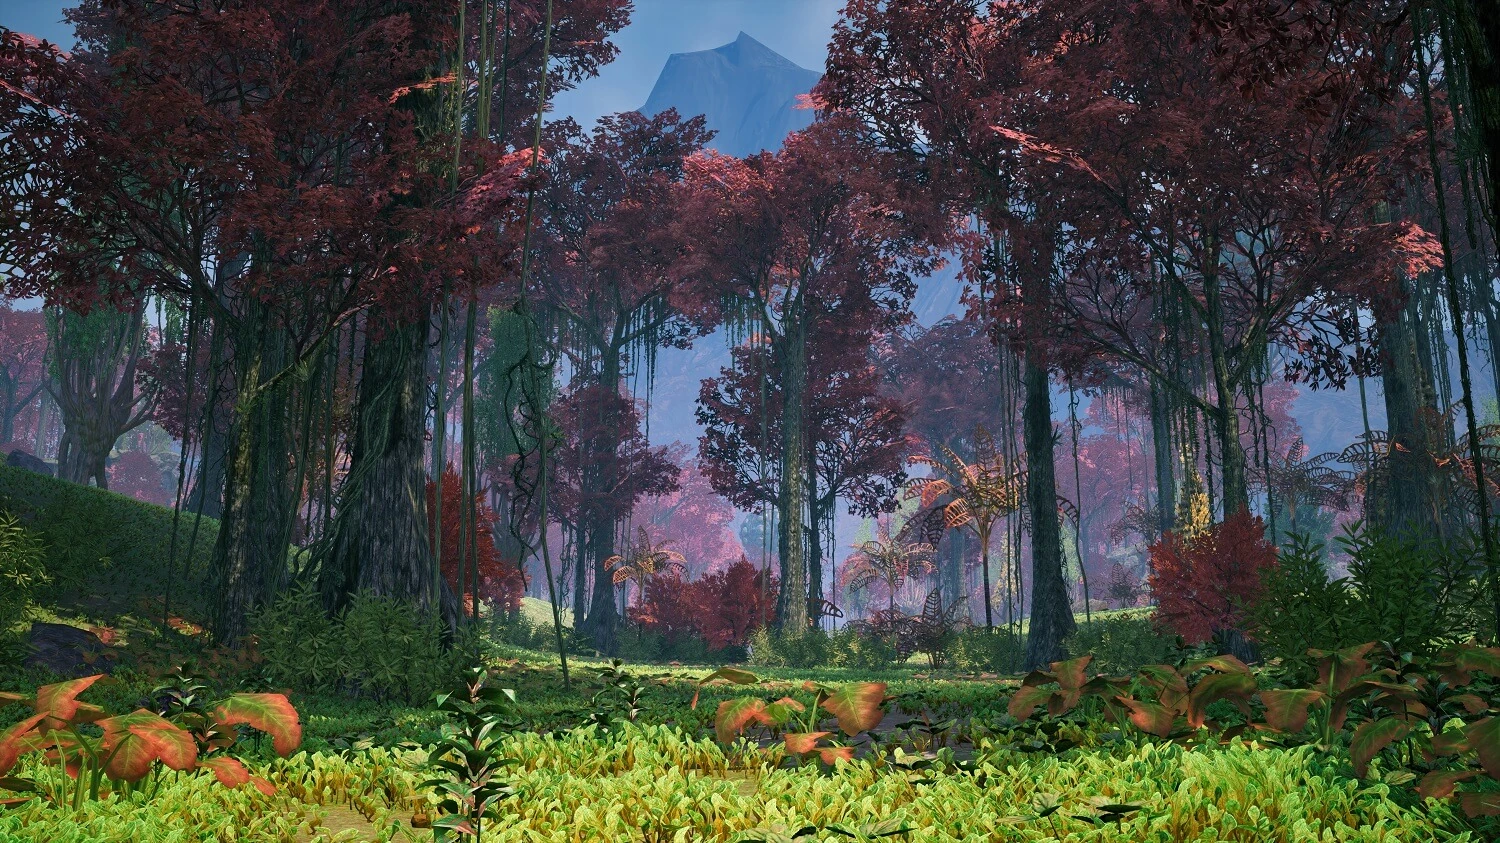
Biomes
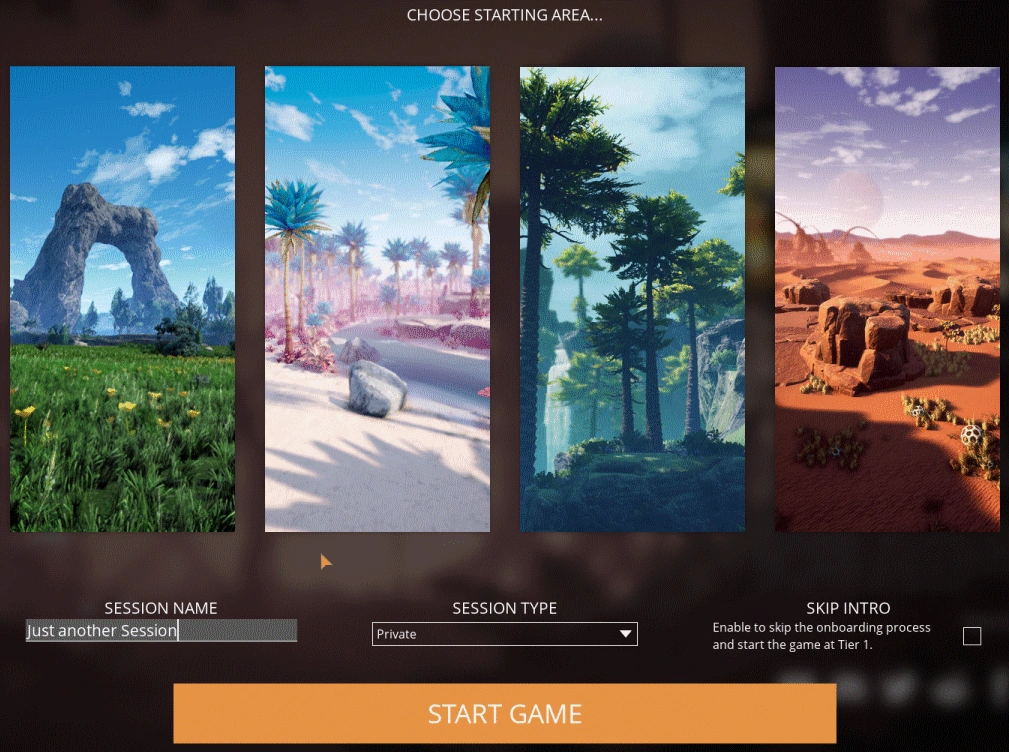
Starting areas
The player can choose one of four locations to start in: the Grass Fields, Rocky Desert, Northern Forest or Dune Desert.
Grass Fields
Ideal for first-time pioneers
The first viable building location FICSIT had found, standing out because of its open and relatively flat fields. Considering the distances between mining locations, building outposts and/or large transportation lines may be necessary eventually.
- Terrain flatness:★★★★★
- Biomass: ★★★☆☆
- Resource amount: ★★★☆☆
- Resource diversity: ★★★☆☆

Rocky Desert
Suitable for first-time pioneers
The textbook example of a FICSIT-approved building location, with balanced resources, space, and distances. Additionally, it is very close to the sea, making water an easy commodity.
- Terrain flatness:★★★★☆
- Biomass: ★★☆☆☆
- Resource amount: ★★★☆☆
- Resource diversity: ★★★★☆
Northern Forest
Good for more experienced pioneers
A lush building location with many height differences and a few open areas, challenging conventional building and planning methods. Despite these challenges, it caught our eye due to the richness of its resources.
- Terrain flatness:★☆☆☆☆
- Biomass: ★★★★★
- Resource amount: ★★★★☆
- Resource diversity: ★★★★★

Dune Desert
Recommended for advanced pioneers
Initially considered too risky, further investigation has convinced us that this area is viable for building with its large, open spaces and plentiful mining locations. Foliage and water locations are rare and contained, making initial power set-ups challenging.
- Terrain flatness:★★★★☆
- Biomass: ★★☆☆☆
- Resource amount: ★★★★★
- Resource diversity: ★★☆☆☆
Biome list
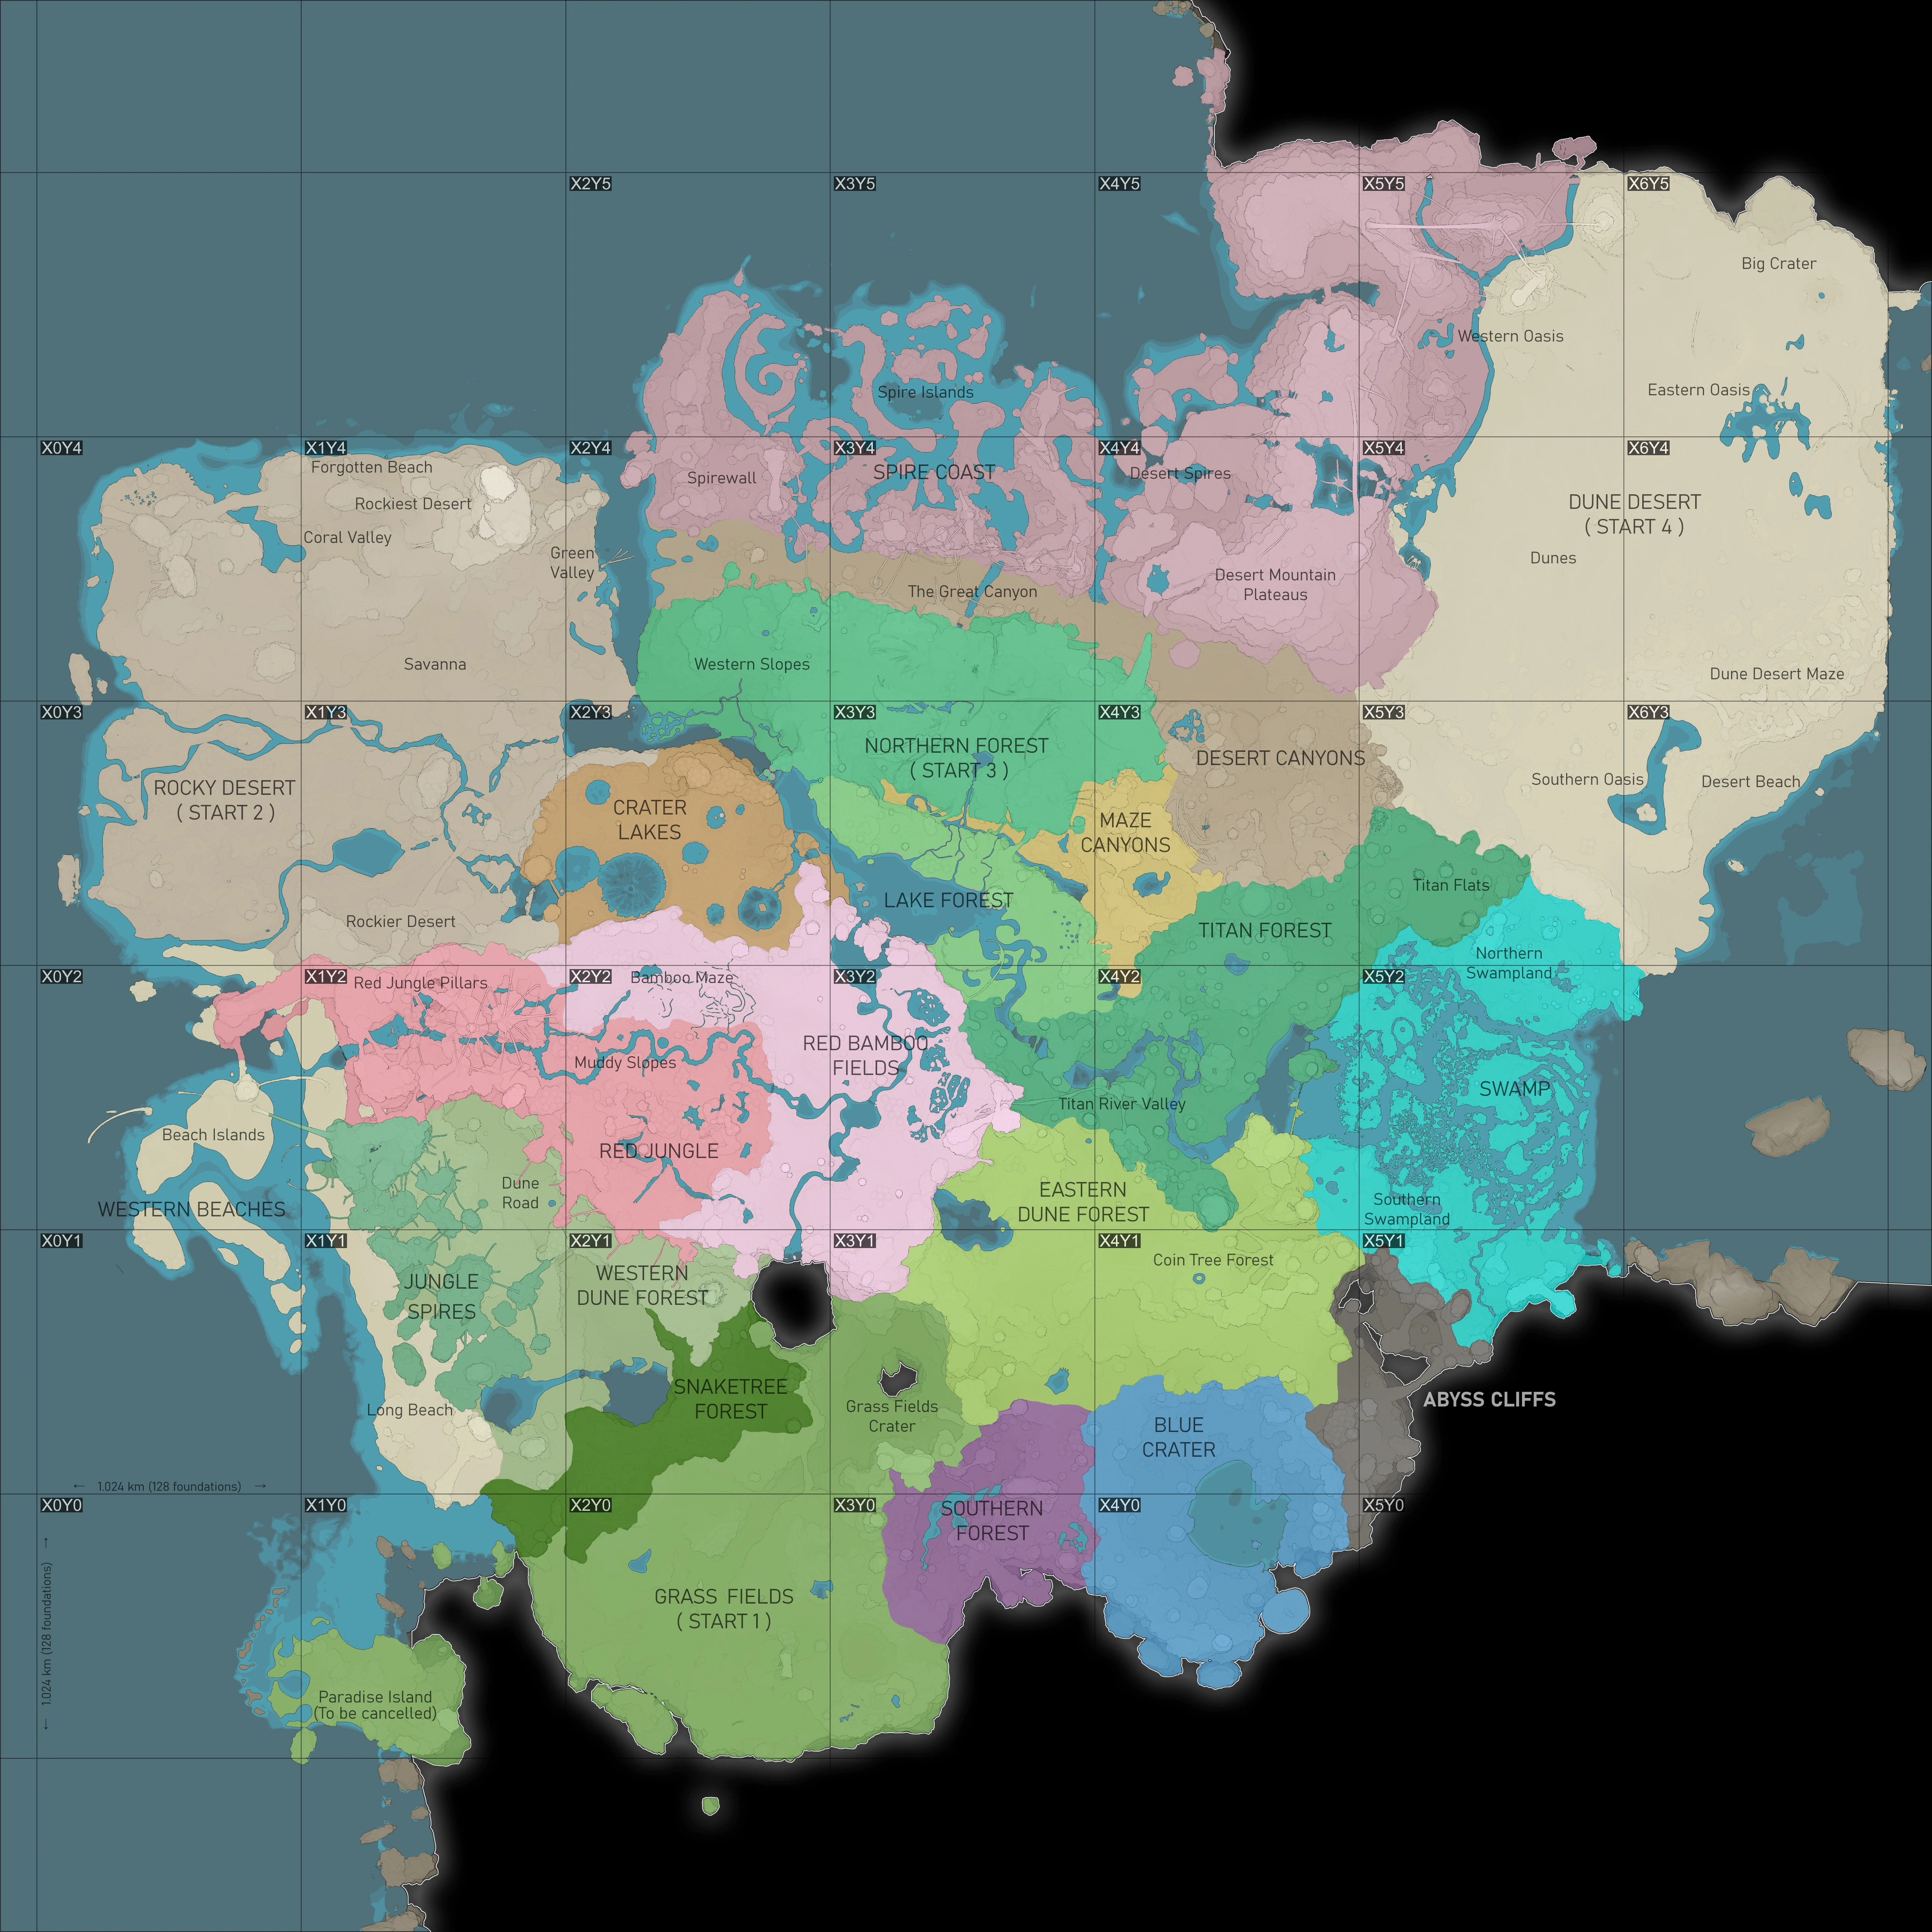

Biome map
According to the Map that appeared in one of the Developer's Highlights and other resources,[3][4] there are 21 named biomes, 4 of which are the starting areas:
| Name | Grid | Description | Biomass amount | Terrain difficulty | Hostility |
|---|---|---|---|---|---|
| Abyss Cliffs | X5Y1 | Small mountainous area with lots of stone bridges with numerous buttes at different heights.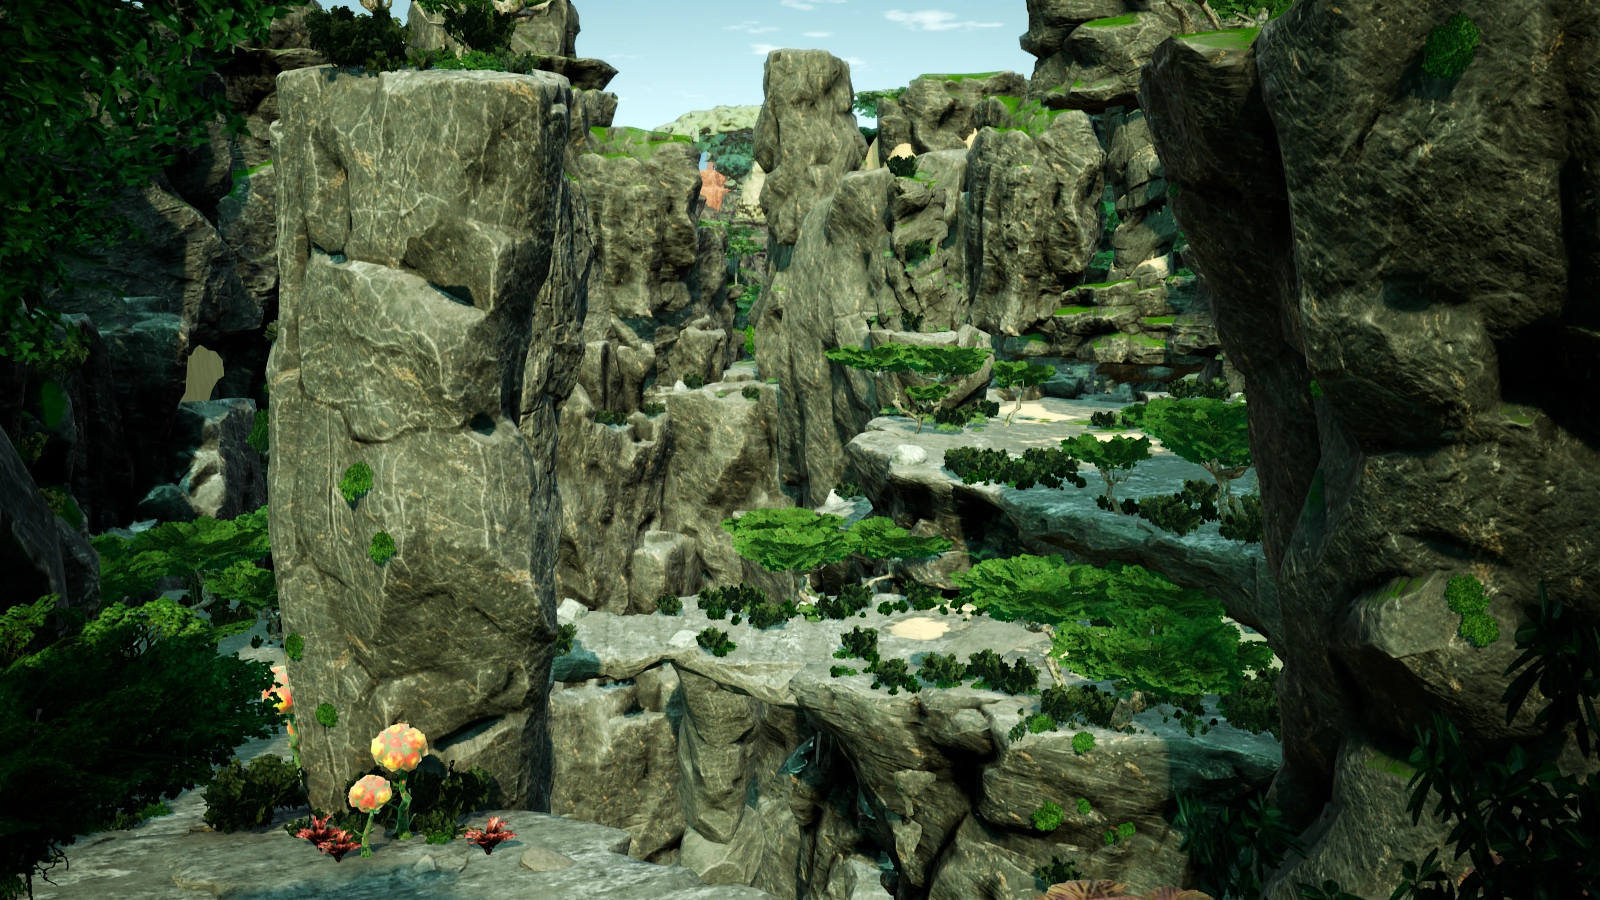
|
very low
|
very high
|
low
|
| Blue Crater | 4XY0-Y1 | Sunken area filled with many large multi-layered fungus, with lots of cavities formed in-between. Mycelia and Bacon Agaric are common on the ground.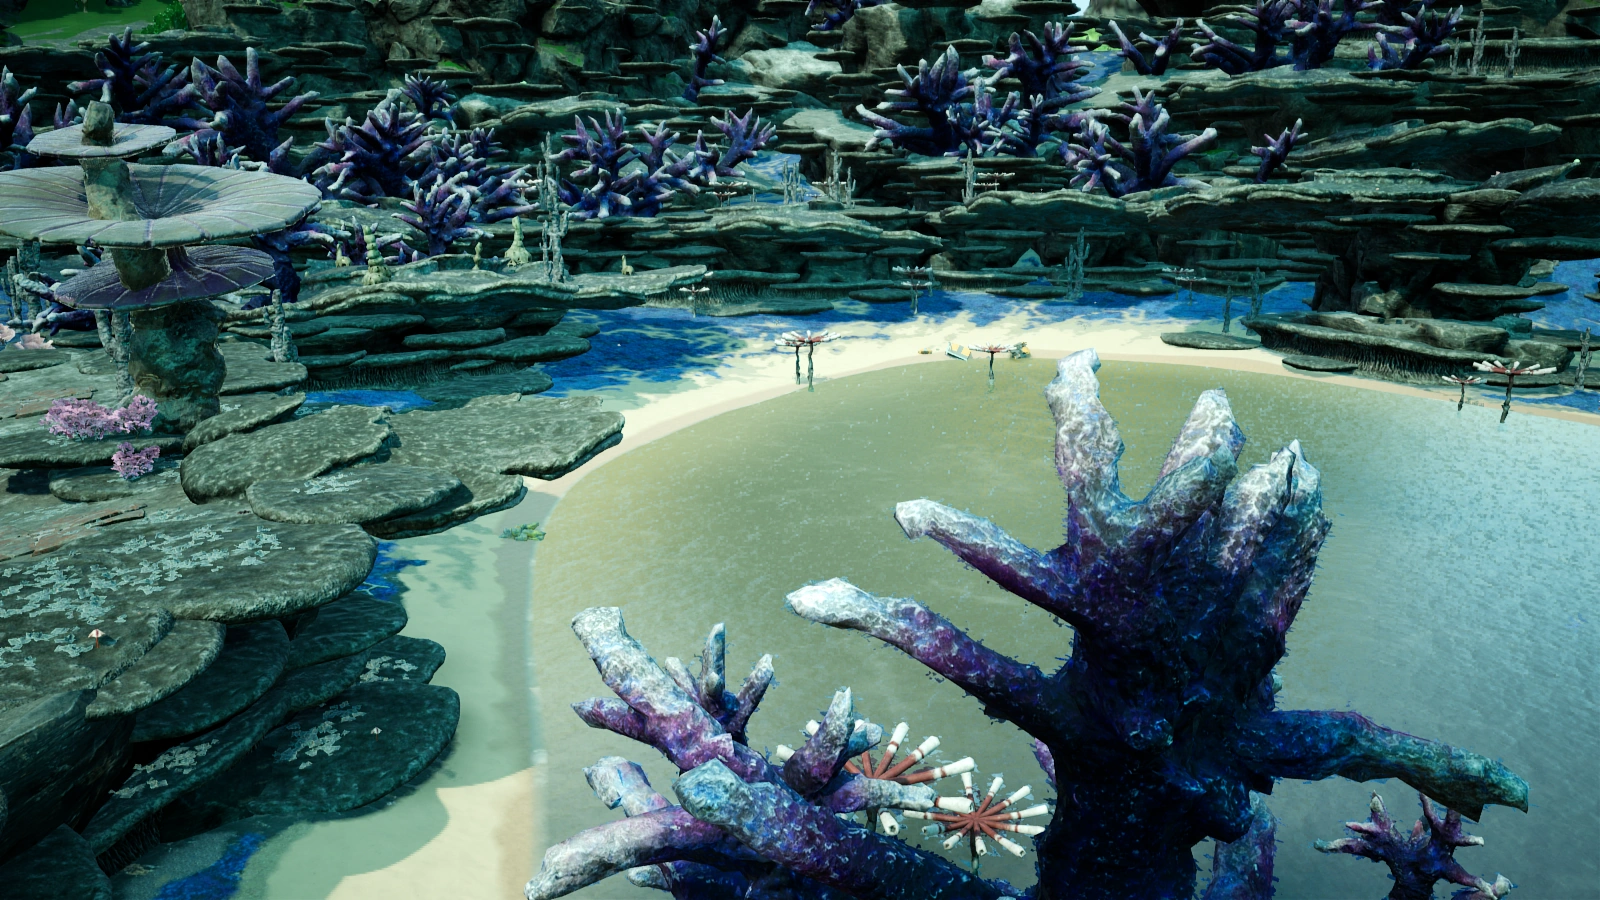
|
moderate
|
high
|
high
|
| Crater Lakes | X2Y3 | A highland with multiple craters that leads to Red Bamboo Fields.
|
moderate
|
medium
|
medium
|
| Dangle Spires | X1Y1 | Area cut through with ravines, contains trees and arc-shaped stones. Contains one of the largest and tallest caves in the world. File:Dangle Spires.png |
moderate
|
very high
|
medium
|
| Desert Canyons | X2Y4-X4Y3 | Huge long canyon with indestructible stone mushrooms.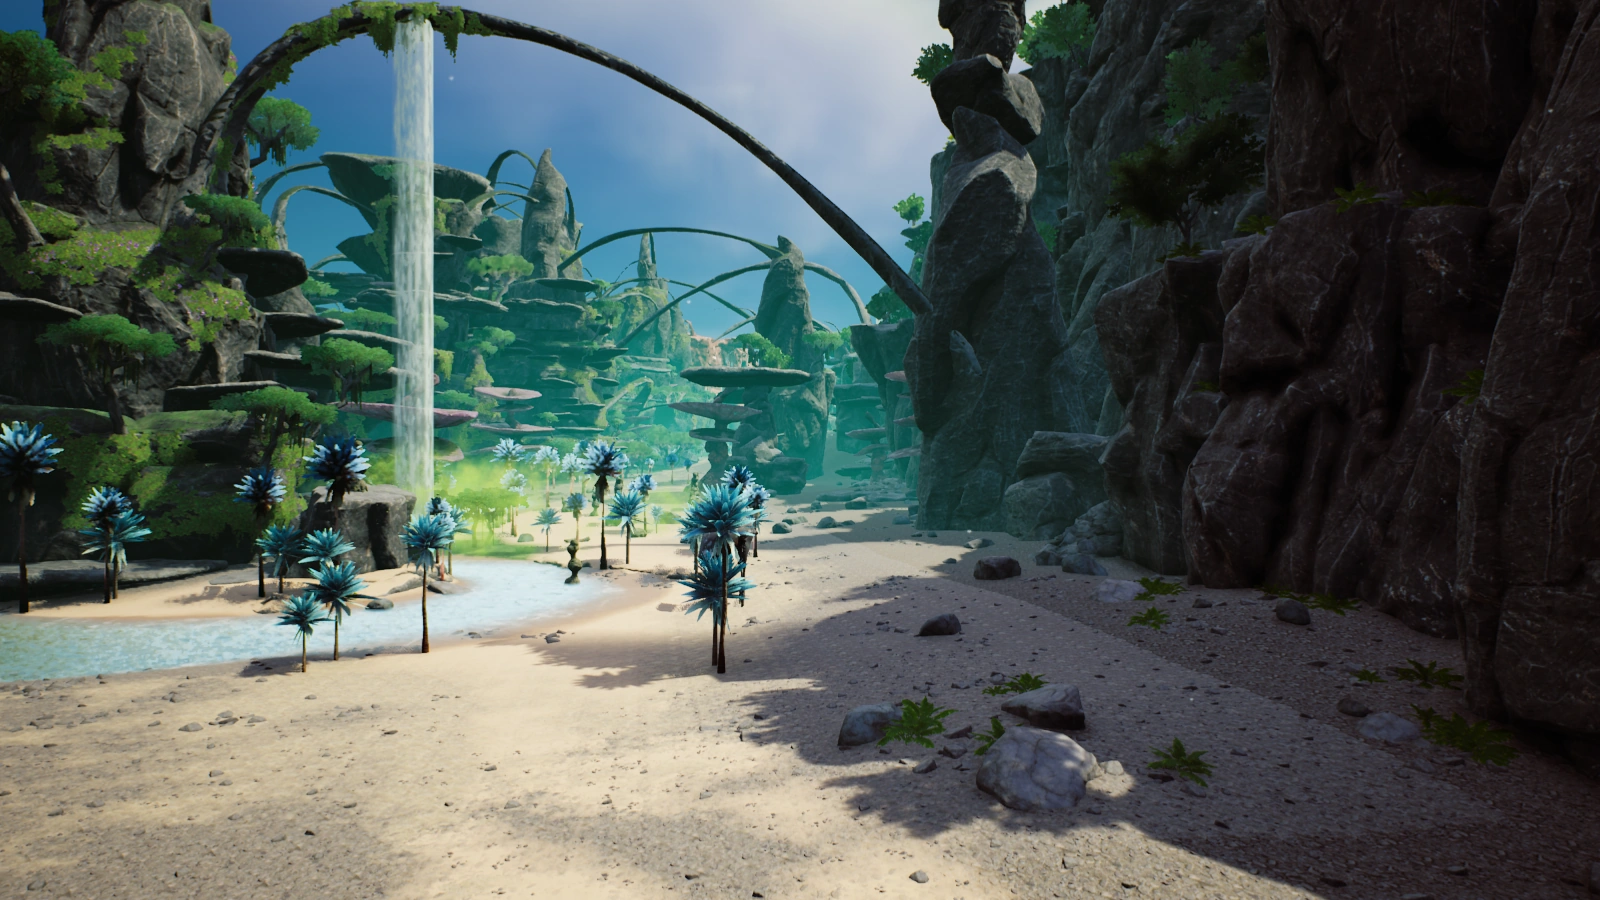
|
low
|
medium
|
medium
|
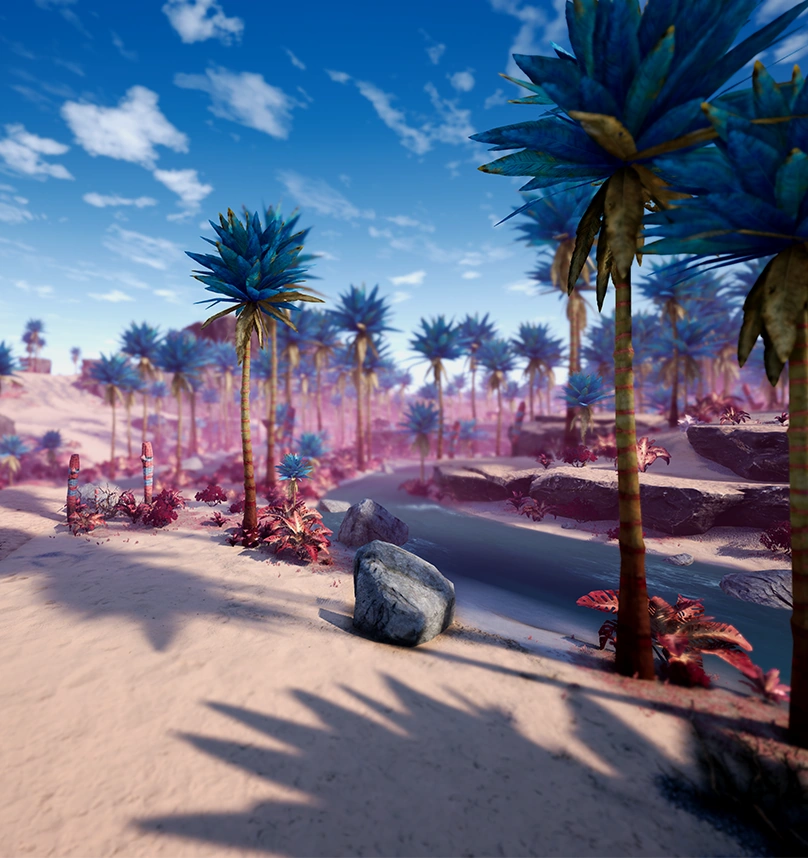
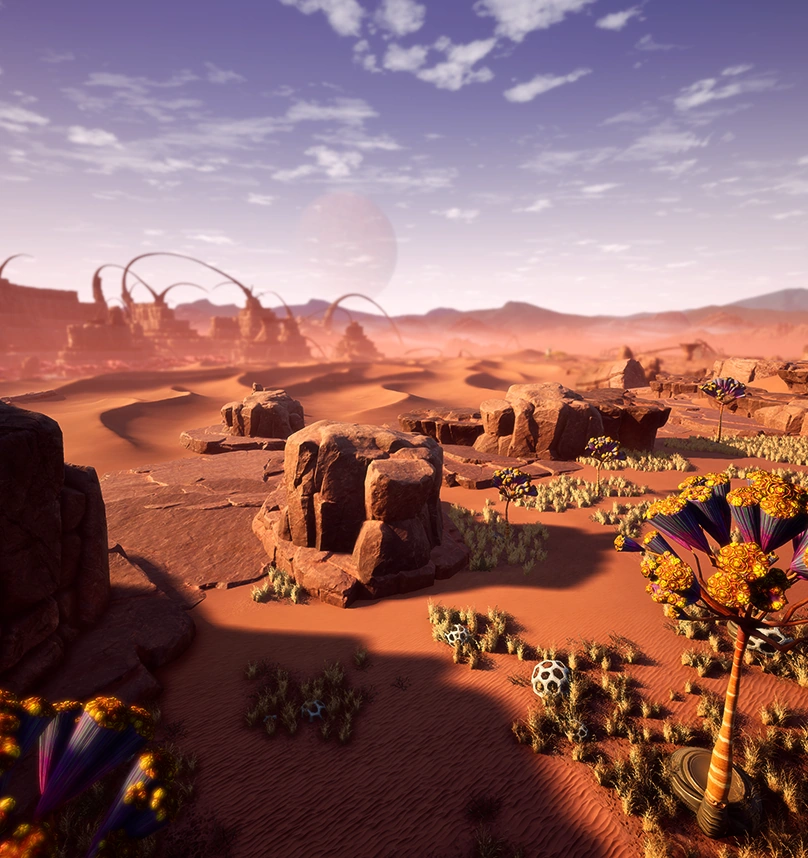
| Dune Desert | X5Y3-X6Y5 | One of the Starting Areas. Huge open desert featuring large sand dunes and rocky terrain. Grouped biomass only available in the tree oases makes early game considerably more challenging. Numerous rocks on the ground mark the entrance to various caves.
|
low
|
low
|
low
|
| Eastern Dune Forest | X3Y1-X4Y1 | Sandy forest located at the East of the world. Patches of sand dunes are separated by thin grassy areas.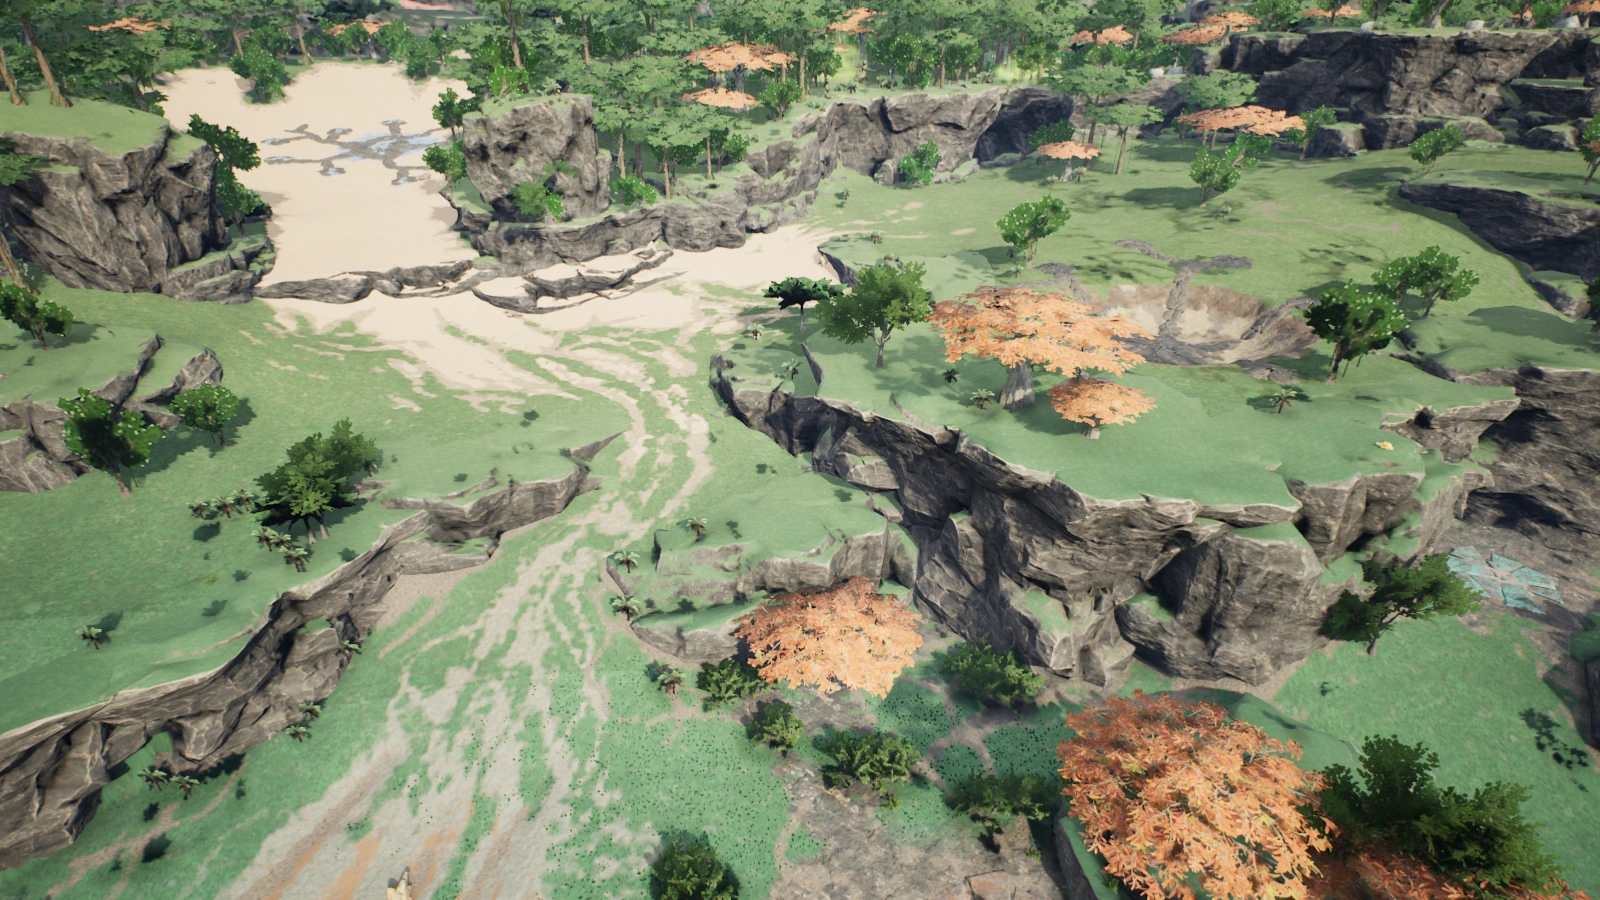
|
moderate
|
low
|
low
|
| Grass Fields | X2Y0 | One of the Starting Areas. Large open grassy area, often with impure nodes. Stone arches are the landmarks in the area. Hogs are common.
|
moderate
|
very low
|
low
|
| Islands | X0Y1-Y2 | A set of islands with the foliage of Grass Fields, important for the presence of Oil nodes, nicknamed "the gold coast". File:Islands.png |
low
|
low
|
medium
|
| Lake Forest | X3Y3 | Forest with a big lake in the middle and a small swampy area near the cliff.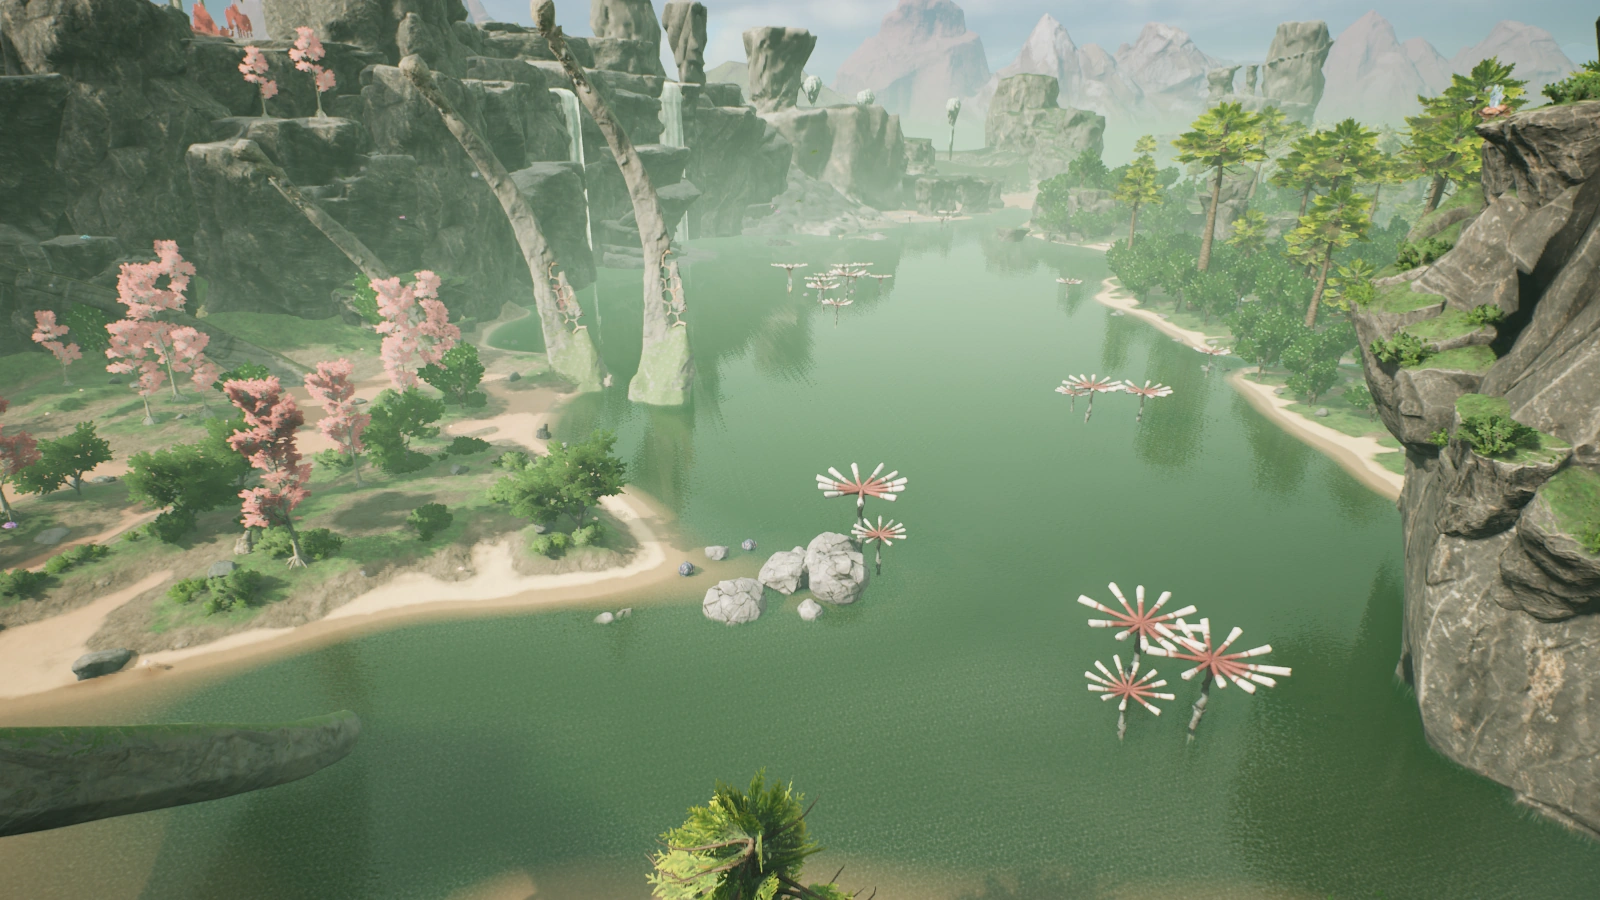
|
moderate
|
medium
|
medium
|
| Maze Canyons | X4Y3 | A rocky area with many stone bridges criss-crossed at different heights, resembles a 3D maze. Poison pillars can be found on most of the high grounds. It is one of the good spot for setting up Coal Power, just don't visit it during the night.
|
low
|
high
|
low
|
| Northern Forest | X2Y4-X4Y3 | One of the Starting Areas. Grassy area with hills and moderate amount of biomass. The uneven ground makes base building in the early-game difficult without Foundations.
|
high
|
medium
|
low
|
| Red Bamboo Fields | X2Y2-X3Y2 | Highland with red foliage, consisting of a dense bamboo forest and a numbers of tall, indestructible trees and flower plant. Filled with Spitters, Stingers and Slugs.
|
very high
|
high
|
very high
|
| Red Jungle | X1Y2-X2Y2 | Highland with red foliage, has large trees mixed with red bamboos, stone arches and lots of strong hostile creatures. Features large open sided caves.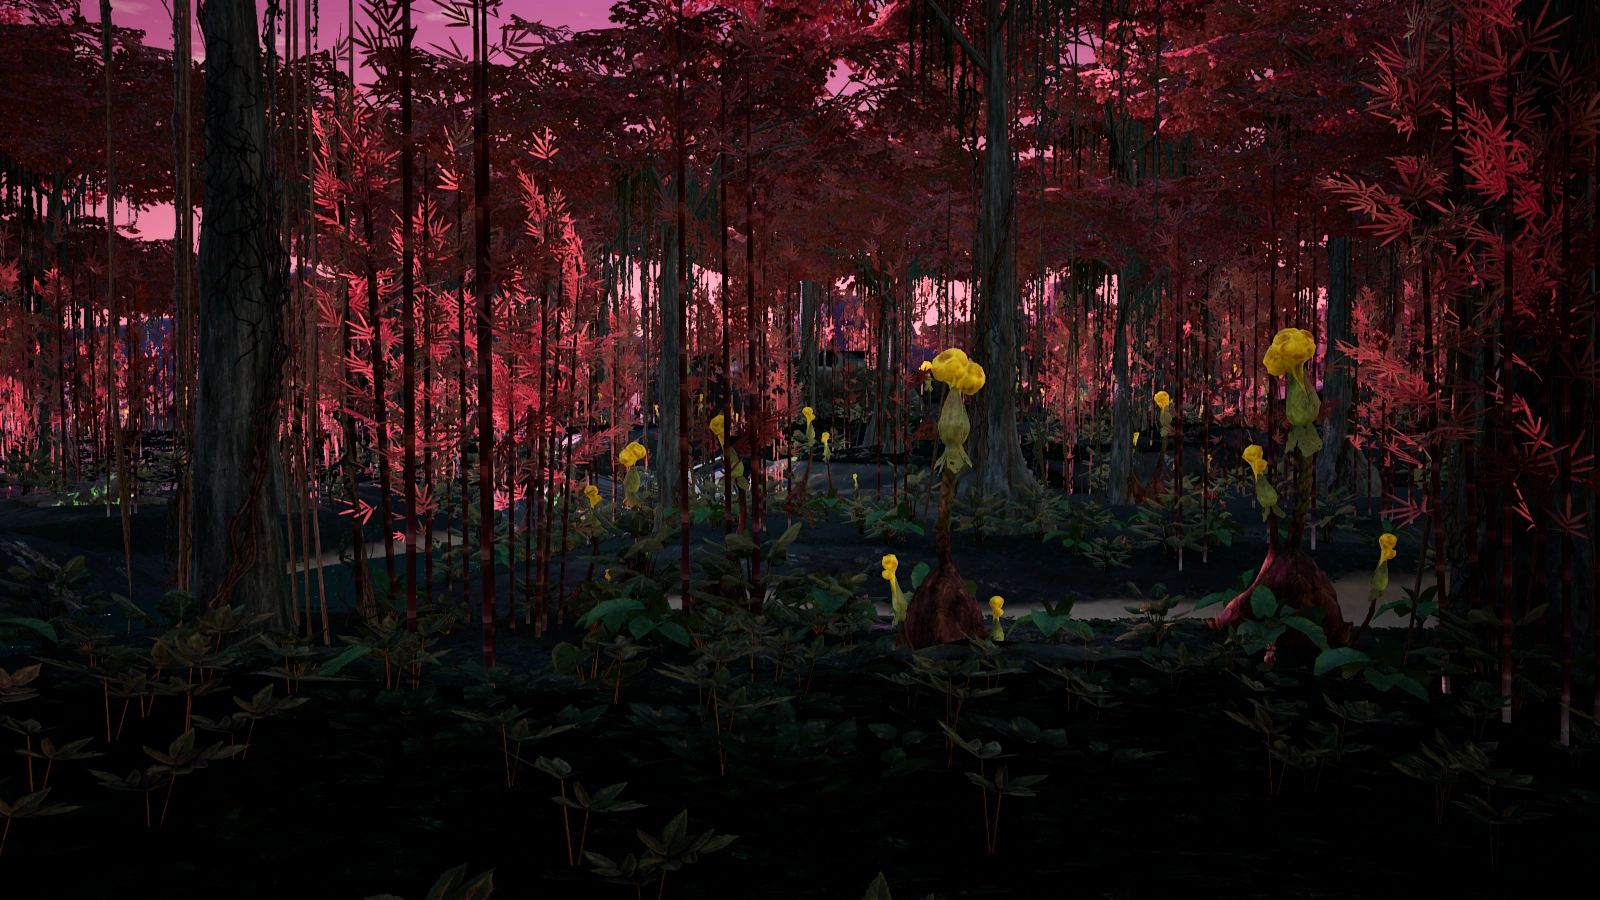
|
very high
|
very high
|
very high
|
| Rocky Desert | X0Y3-X1Y4 | One of the Starting Areas. Open desert area rich with resource nodes. Some of the highest rocky spires are located here.
|
moderate
|
medium
|
medium
|
| Snaketree Forest | X2Y1 | Small, hilly forest with small trees beside the Grass Fields.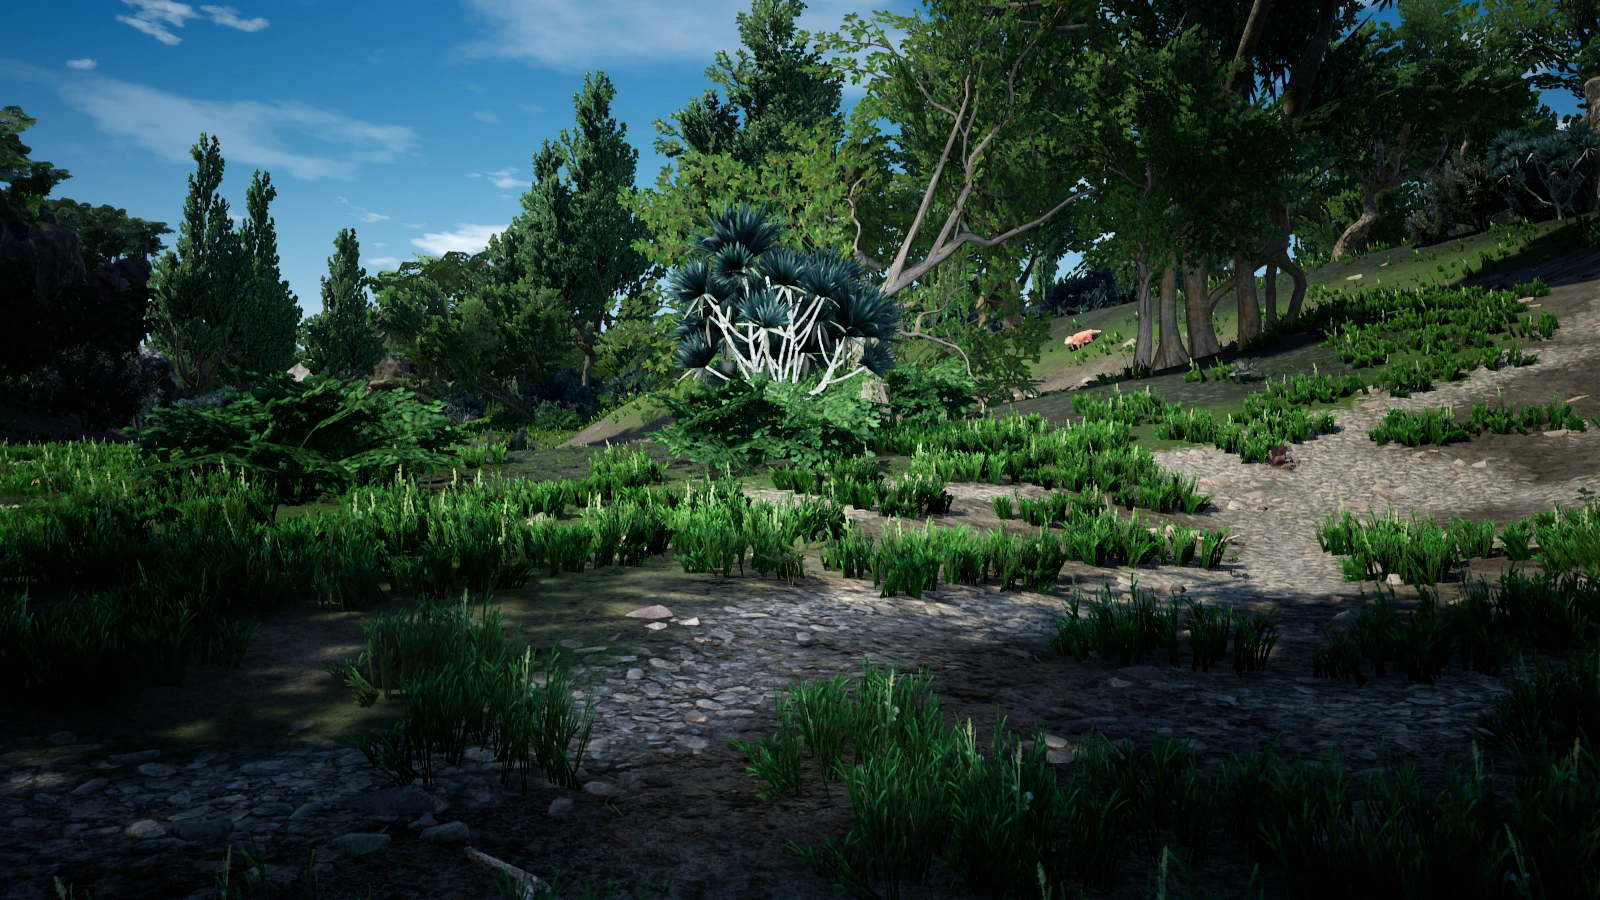
|
moderate
|
moderate
|
low
|
| Southern Forest | X3Y0-Y1 | Dense forest with blue foliage. Populated by Stingers, especially at night.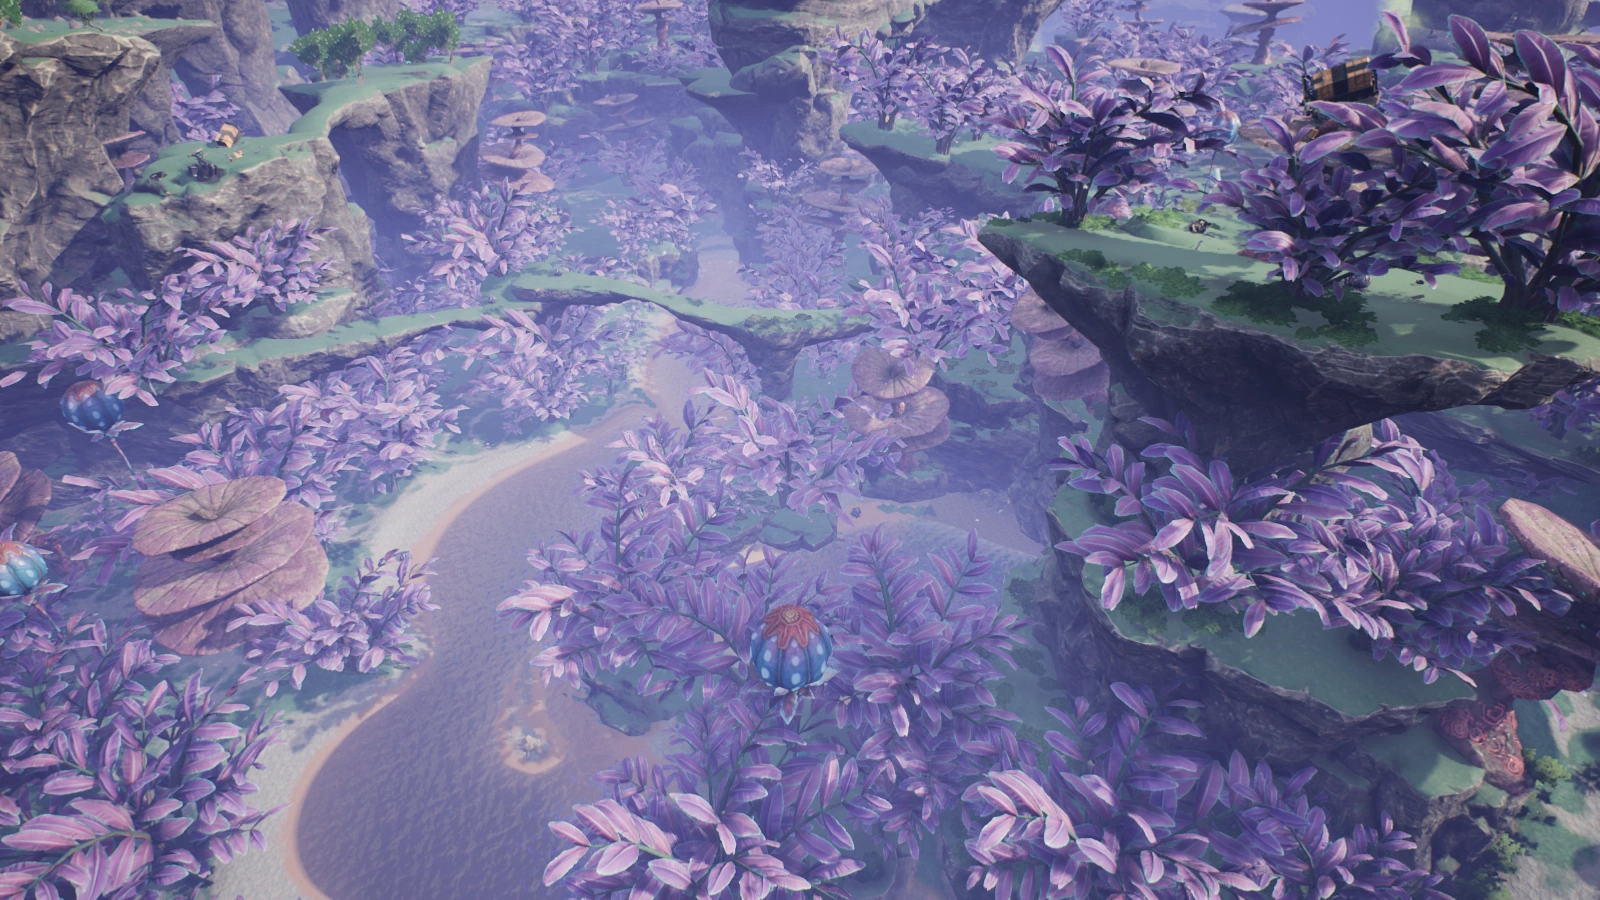
|
high
|
high
|
medium
|
| Spire Coast | X3Y4-X5Y5 | A coast with tall mesa bordering the Dune Desert and Desert Canyon. There are many multi-layered caves within the mesa mountains.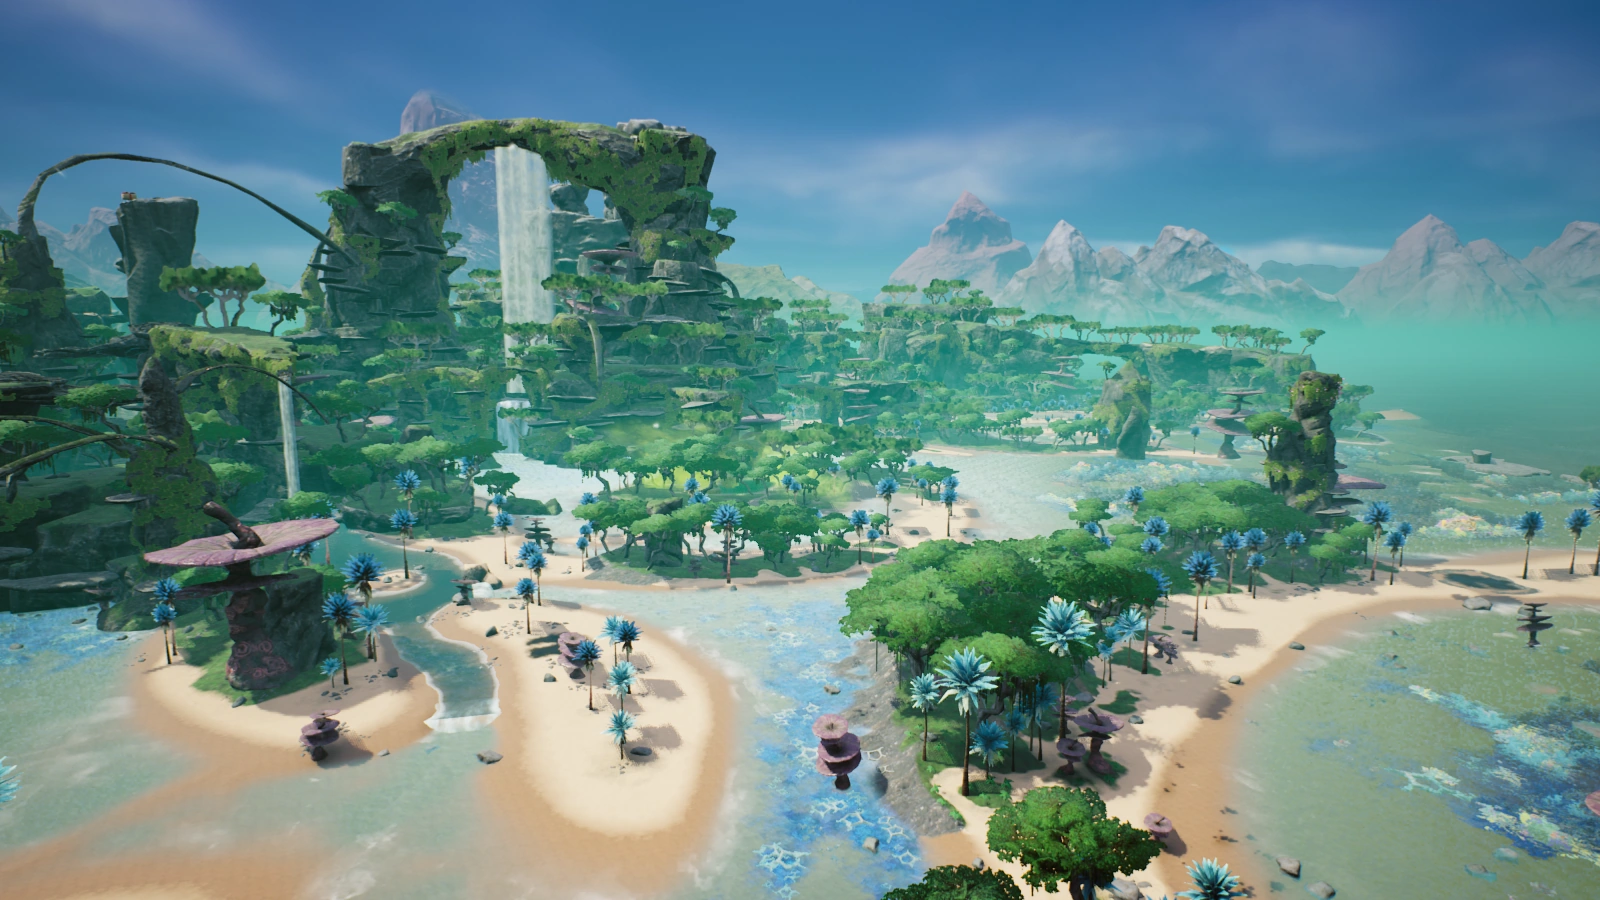
|
very low
|
high
|
low
|
| Swamp | X5Y2 | Area with lots of water and trees. Mostly covered in Poison Gas. Stingers and Alpha Spitters are common. Features several large caves.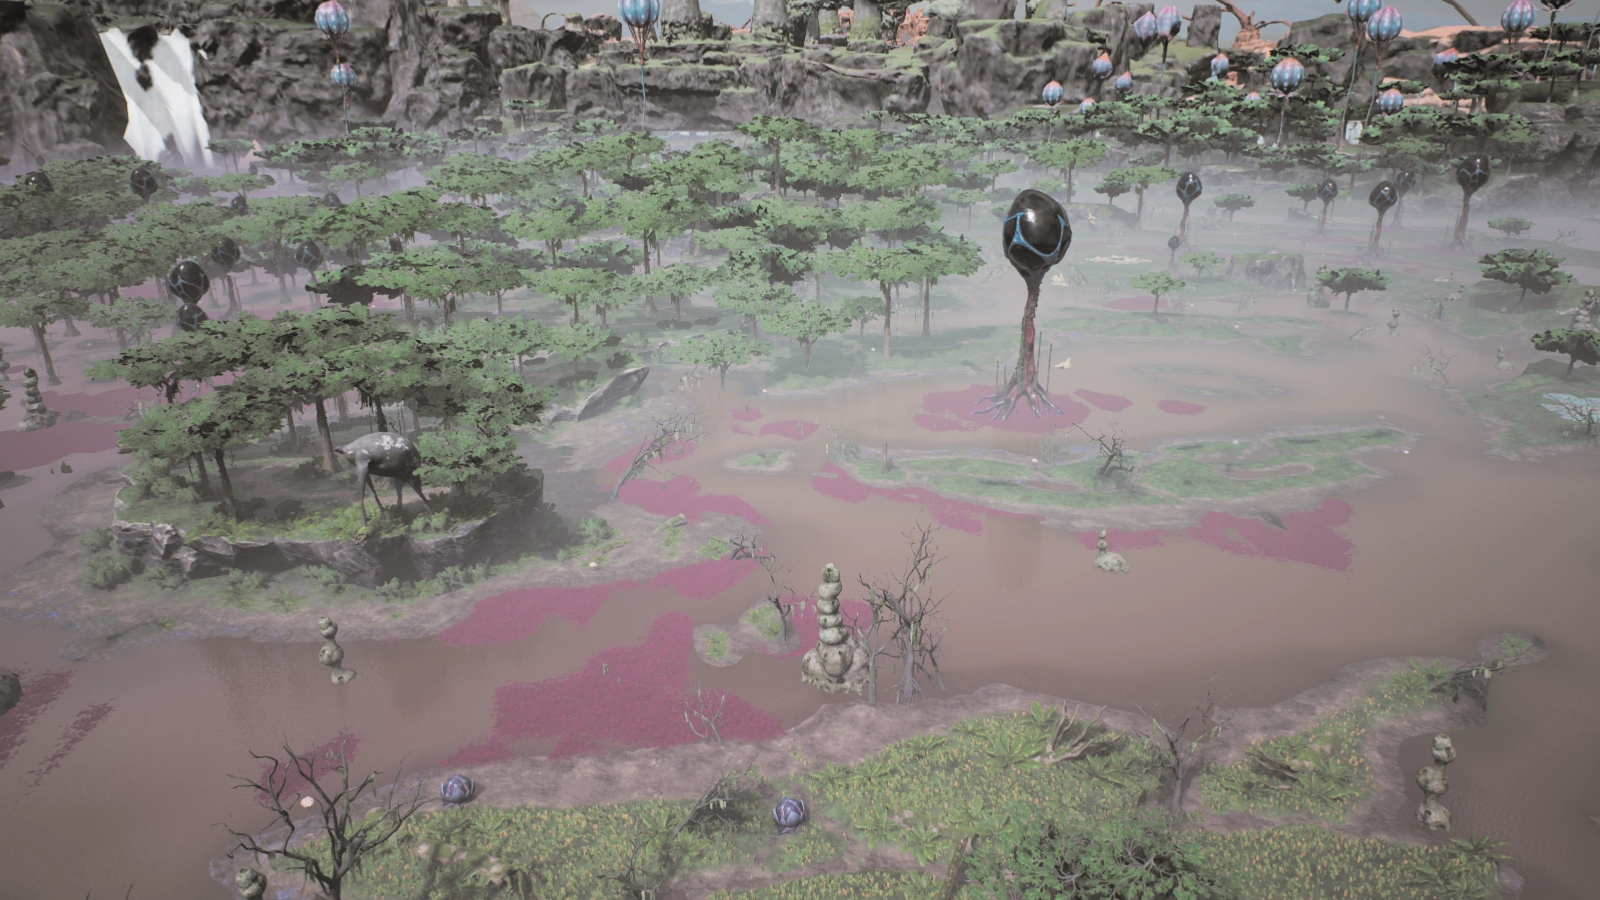
|
moderate
|
very high
|
high
|
| Titan Forest | X3Y2-X5Y3 | Forest on a moderately high ground with humongous indestructible trees.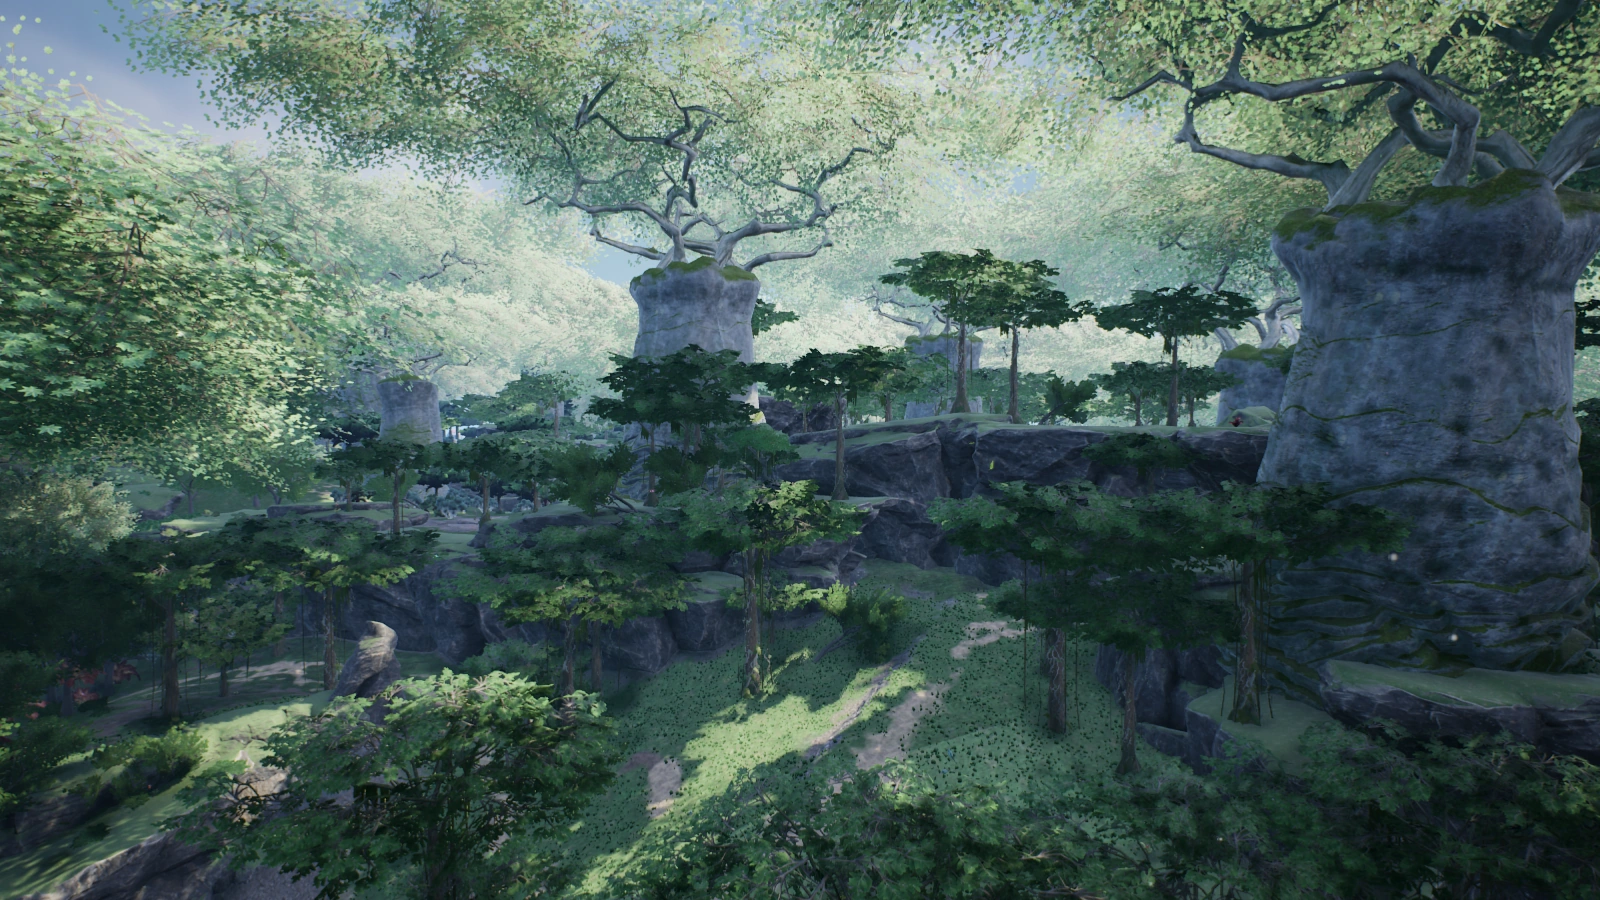
|
moderate
|
very high
|
medium
|
| Western Dune Forest | X1Y2-X2Y1 | Sandy forest located at the West of the world, with lakes and a small waterfall. One of the good spot for setting up Coal Power, but it can be hostile during the night.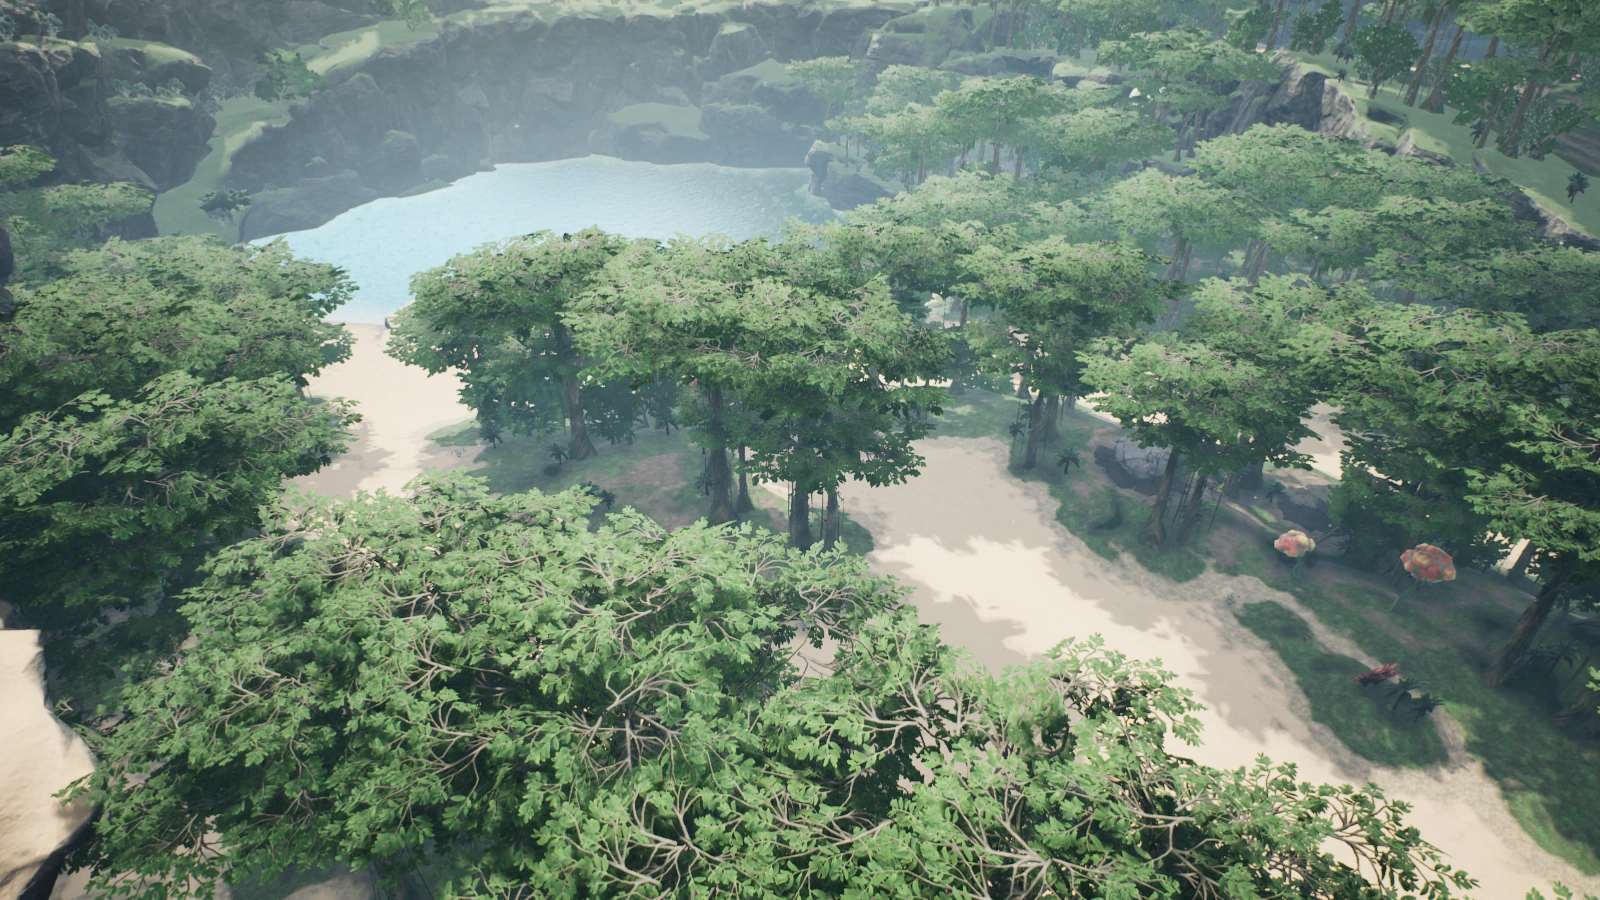
|
moderate
|
medium
|
low
|
Grid size is exactly 1.024 x 1.024 km (128 x 128 foundations). Grid numbering starts with X:0, Y:0 from the south-west corner.
There used to be two separate biomes that have become parts of other biomes: Savanna → Rocky Desert and No Man's Land → Grass Fields.[4]
Environmental features
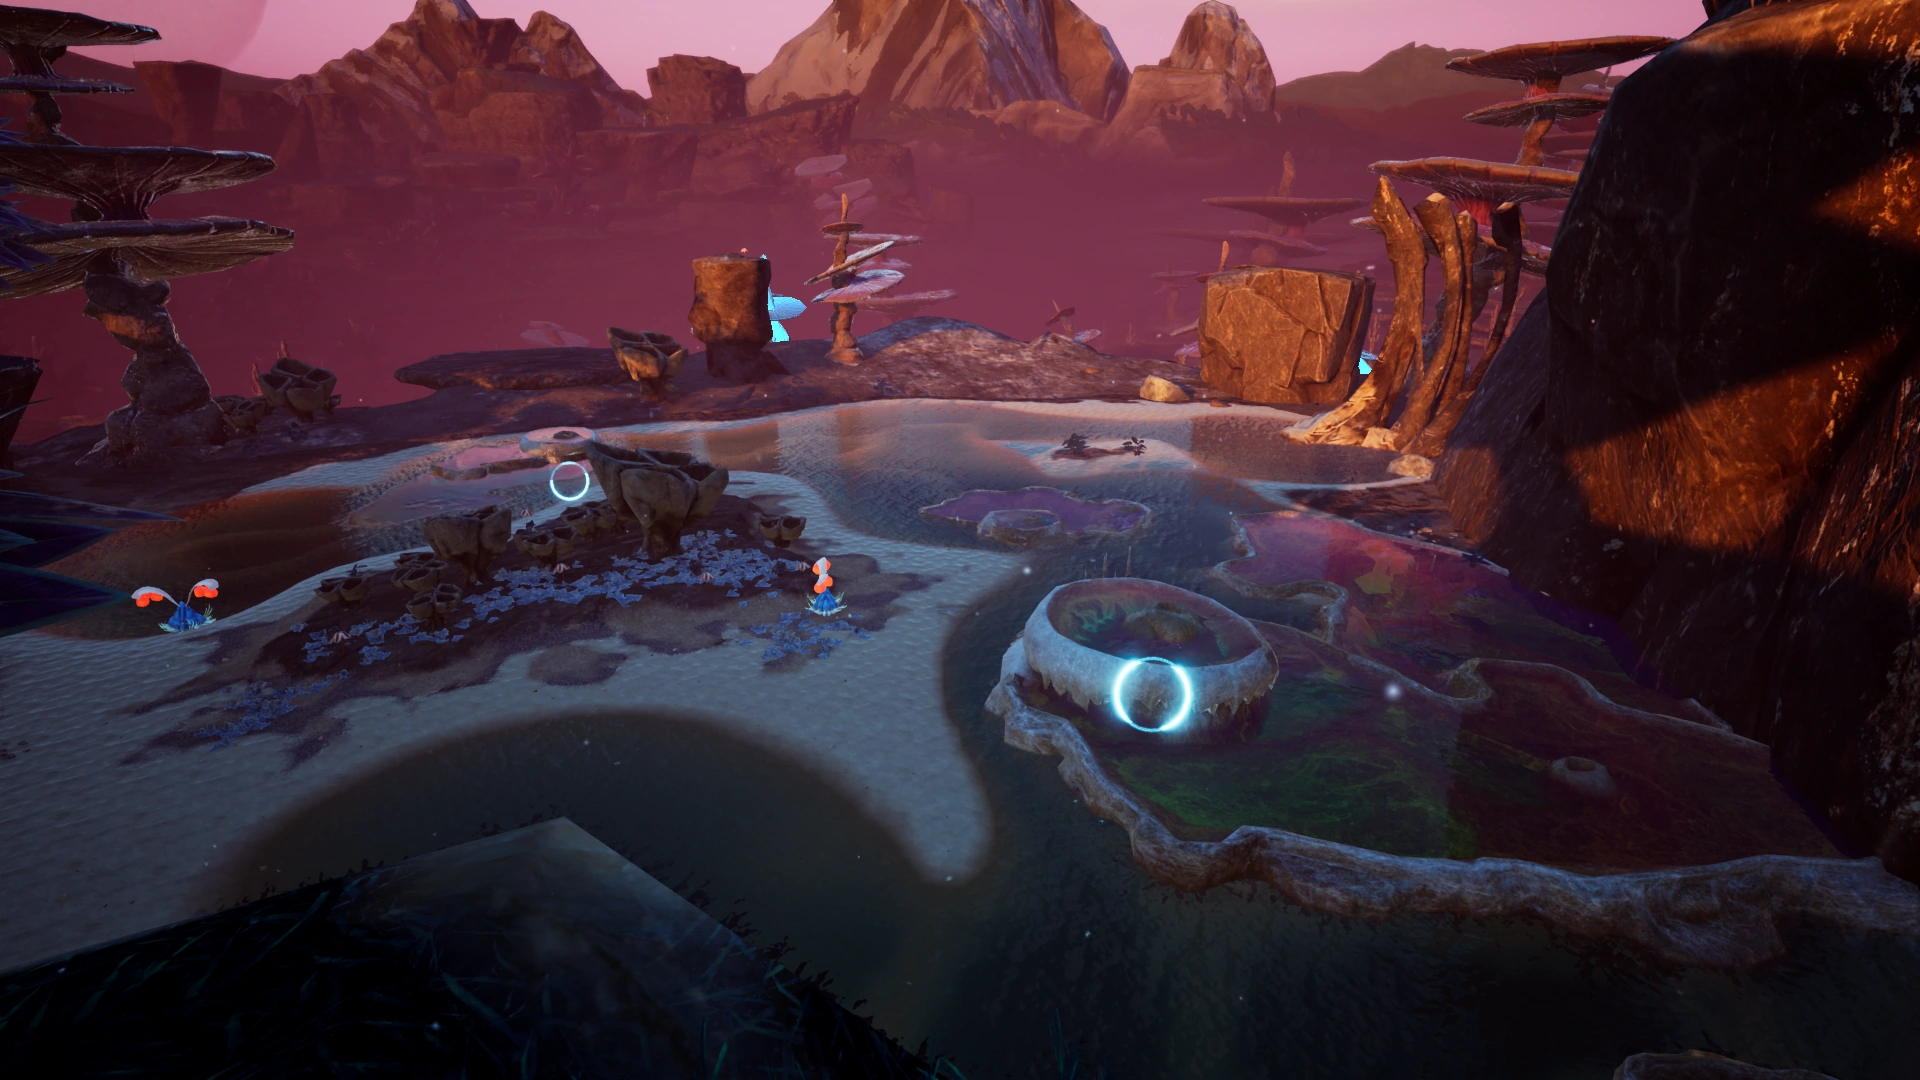
Caves
The Satisfactory world is filled with more than 52 caves. The 5 largest and most important caves are listed below. Stingers are common and appear in nearly every cave.
| Name | Contents | Entrances |
|---|---|---|
| Grass Fields Uranium cave | A long cave with lots of curves and height differences. Contains one of the four Uranium nodes. | 2 |
| Swamp Waterfall cave | An open cave located behind the large waterfall in the Swamp. Contains one of the four Uranium nodes and it is guarded by several strong creatures. | 2 |
| Rocky Desert cave | A large cave in the Rocky Desert with multiple entrances. Has two Quartz and one SAM node inside. | 5 |
| Lizard Doggo cave | A large cave in the Dangle Spires. Contains a few Lizard Doggos, and a lot of loot-able items on the ground, scattered at different elevations. Has large internal area and is very tall. | 3+ |
| Tunnel | A short but open cave linking the Western Dune Forest and the Rocky Desert. | 3 |
Void
- The void refers to any area that is not covered by natural terrain beneath.
- If the pioneer reaches the bottom surface of the void, i.e. by falling into it, their health will start to decrease at 5HP/sec, and, after reaching a certain Z-value, dying instantly.
- The world is surrounded by a combination of the water body and the void.
- There are several void openings in the world.
- The bottom surface of the entire world consists of the void. It can be observed if the pioneer happens to 'clip' through the terrain or by navigating below the world through the edges.
- Two of the common methods to navigate around the void are flying with the Jetpack and by building Foundations.
Mountains
There are a lot of tall mountains in the game. The tallest terrain is located at the North of Rocky Desert. It is a rock pillar, standing 488 meters high above sea level, or Z:470m. It contains one of the four uranium nodes, this one being impure.
Sea
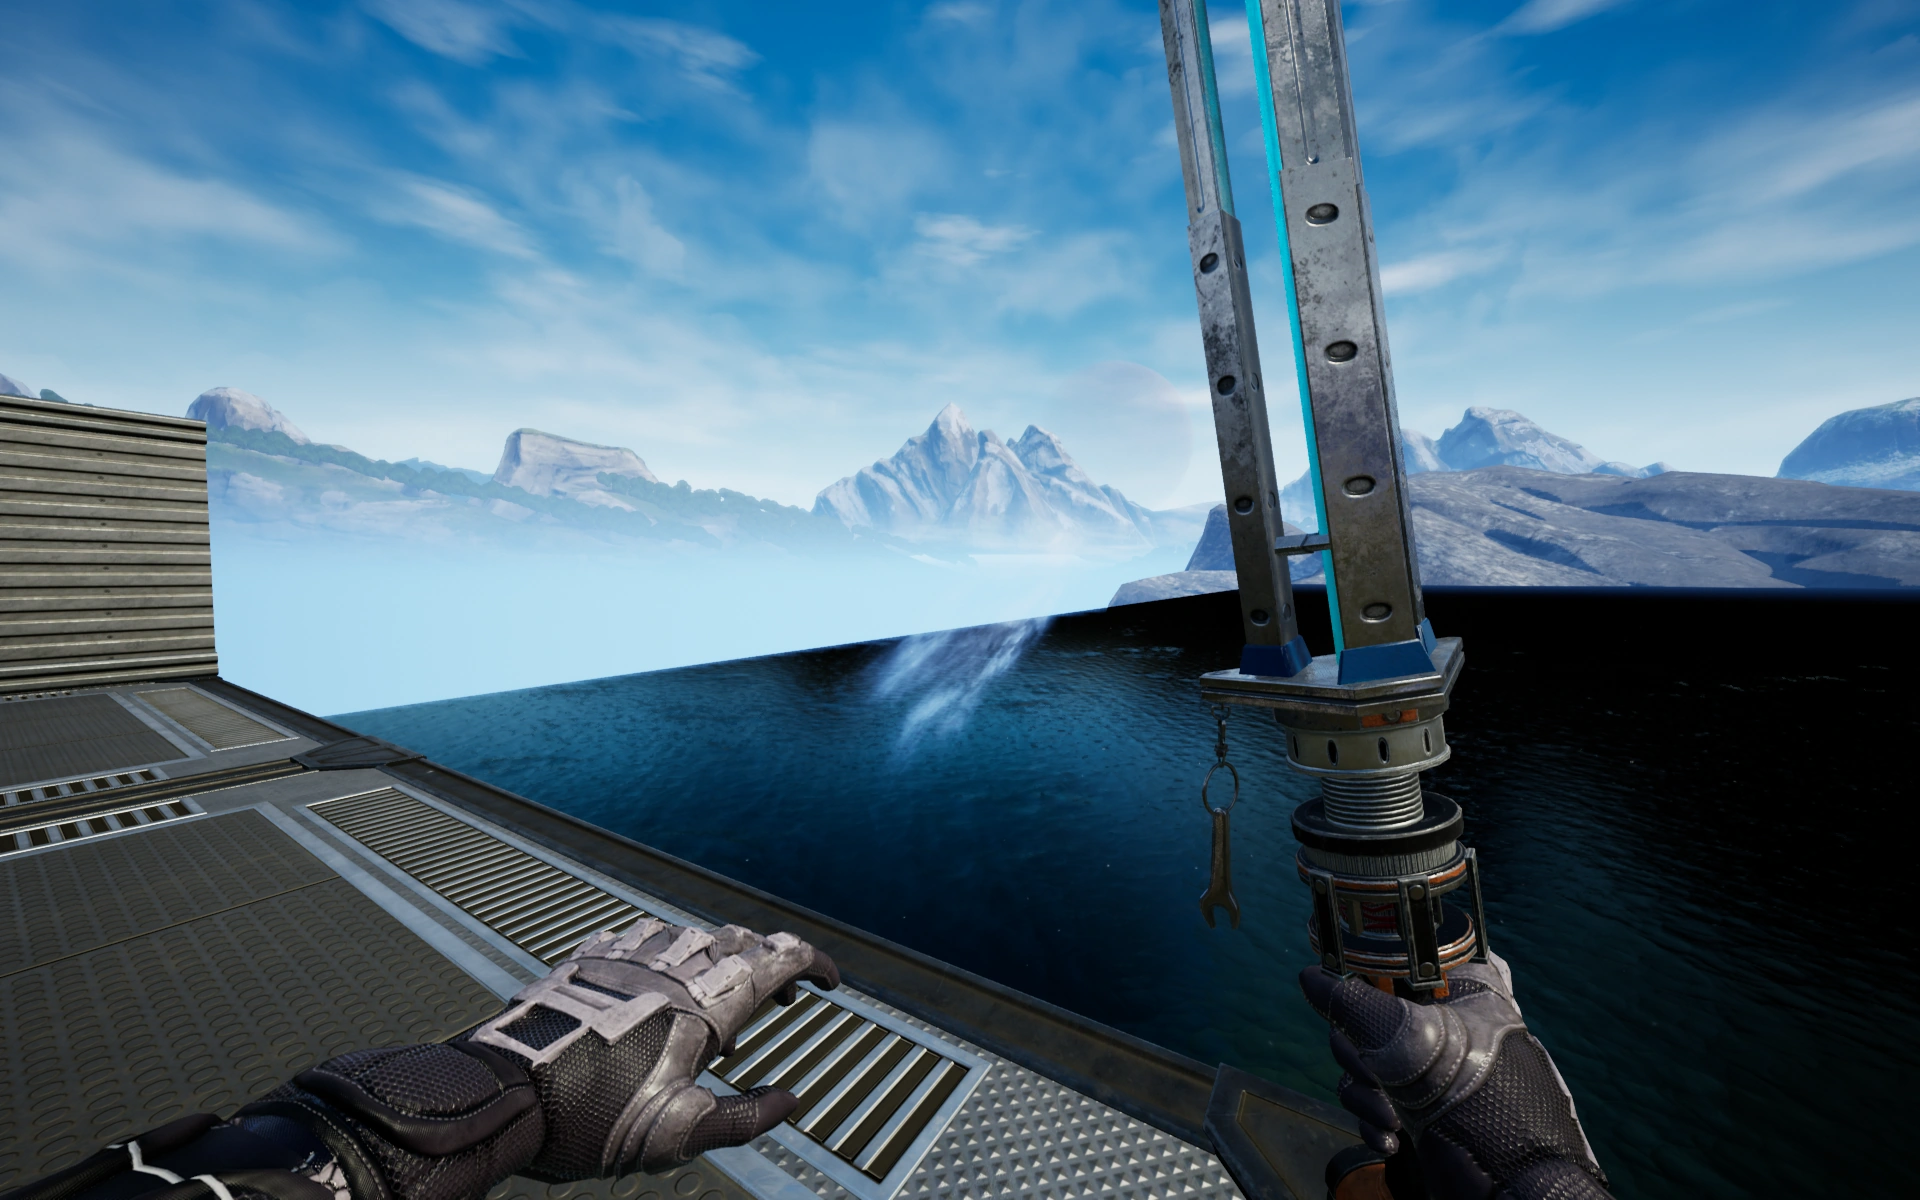
- There are 2 seas in the world; One bordering the North and West sides of the map, and one on the East side. Both sea levels are set at Z:-18, as such 18 meters above sea level will be referred to as '0 meter' high.
- There is a small void in the North East where the North sea visually flows into the void with a waterfall, however the entire area is swimmable and Water Extractors can be placed there.
Traversal
Regardless of where you are in the world and what parts of it are loaded, your factories and vehicles will continue to run.[5]
Players are discouraged from exploring off the edges of the map by a lack of resources and collectibles. If a player continues out of pure curiosity, they will go out-of-bounds, and begin taking about 5 HP per second in damage. Unlike the poison gas, the out-of-bounds damage can be blocked by piloting a vehicle (which will then take the damage instead). Buildings can be constructed as normal in the out-of-bounds zone. The border at the East side of the map can cause instant death. (See below)
World size
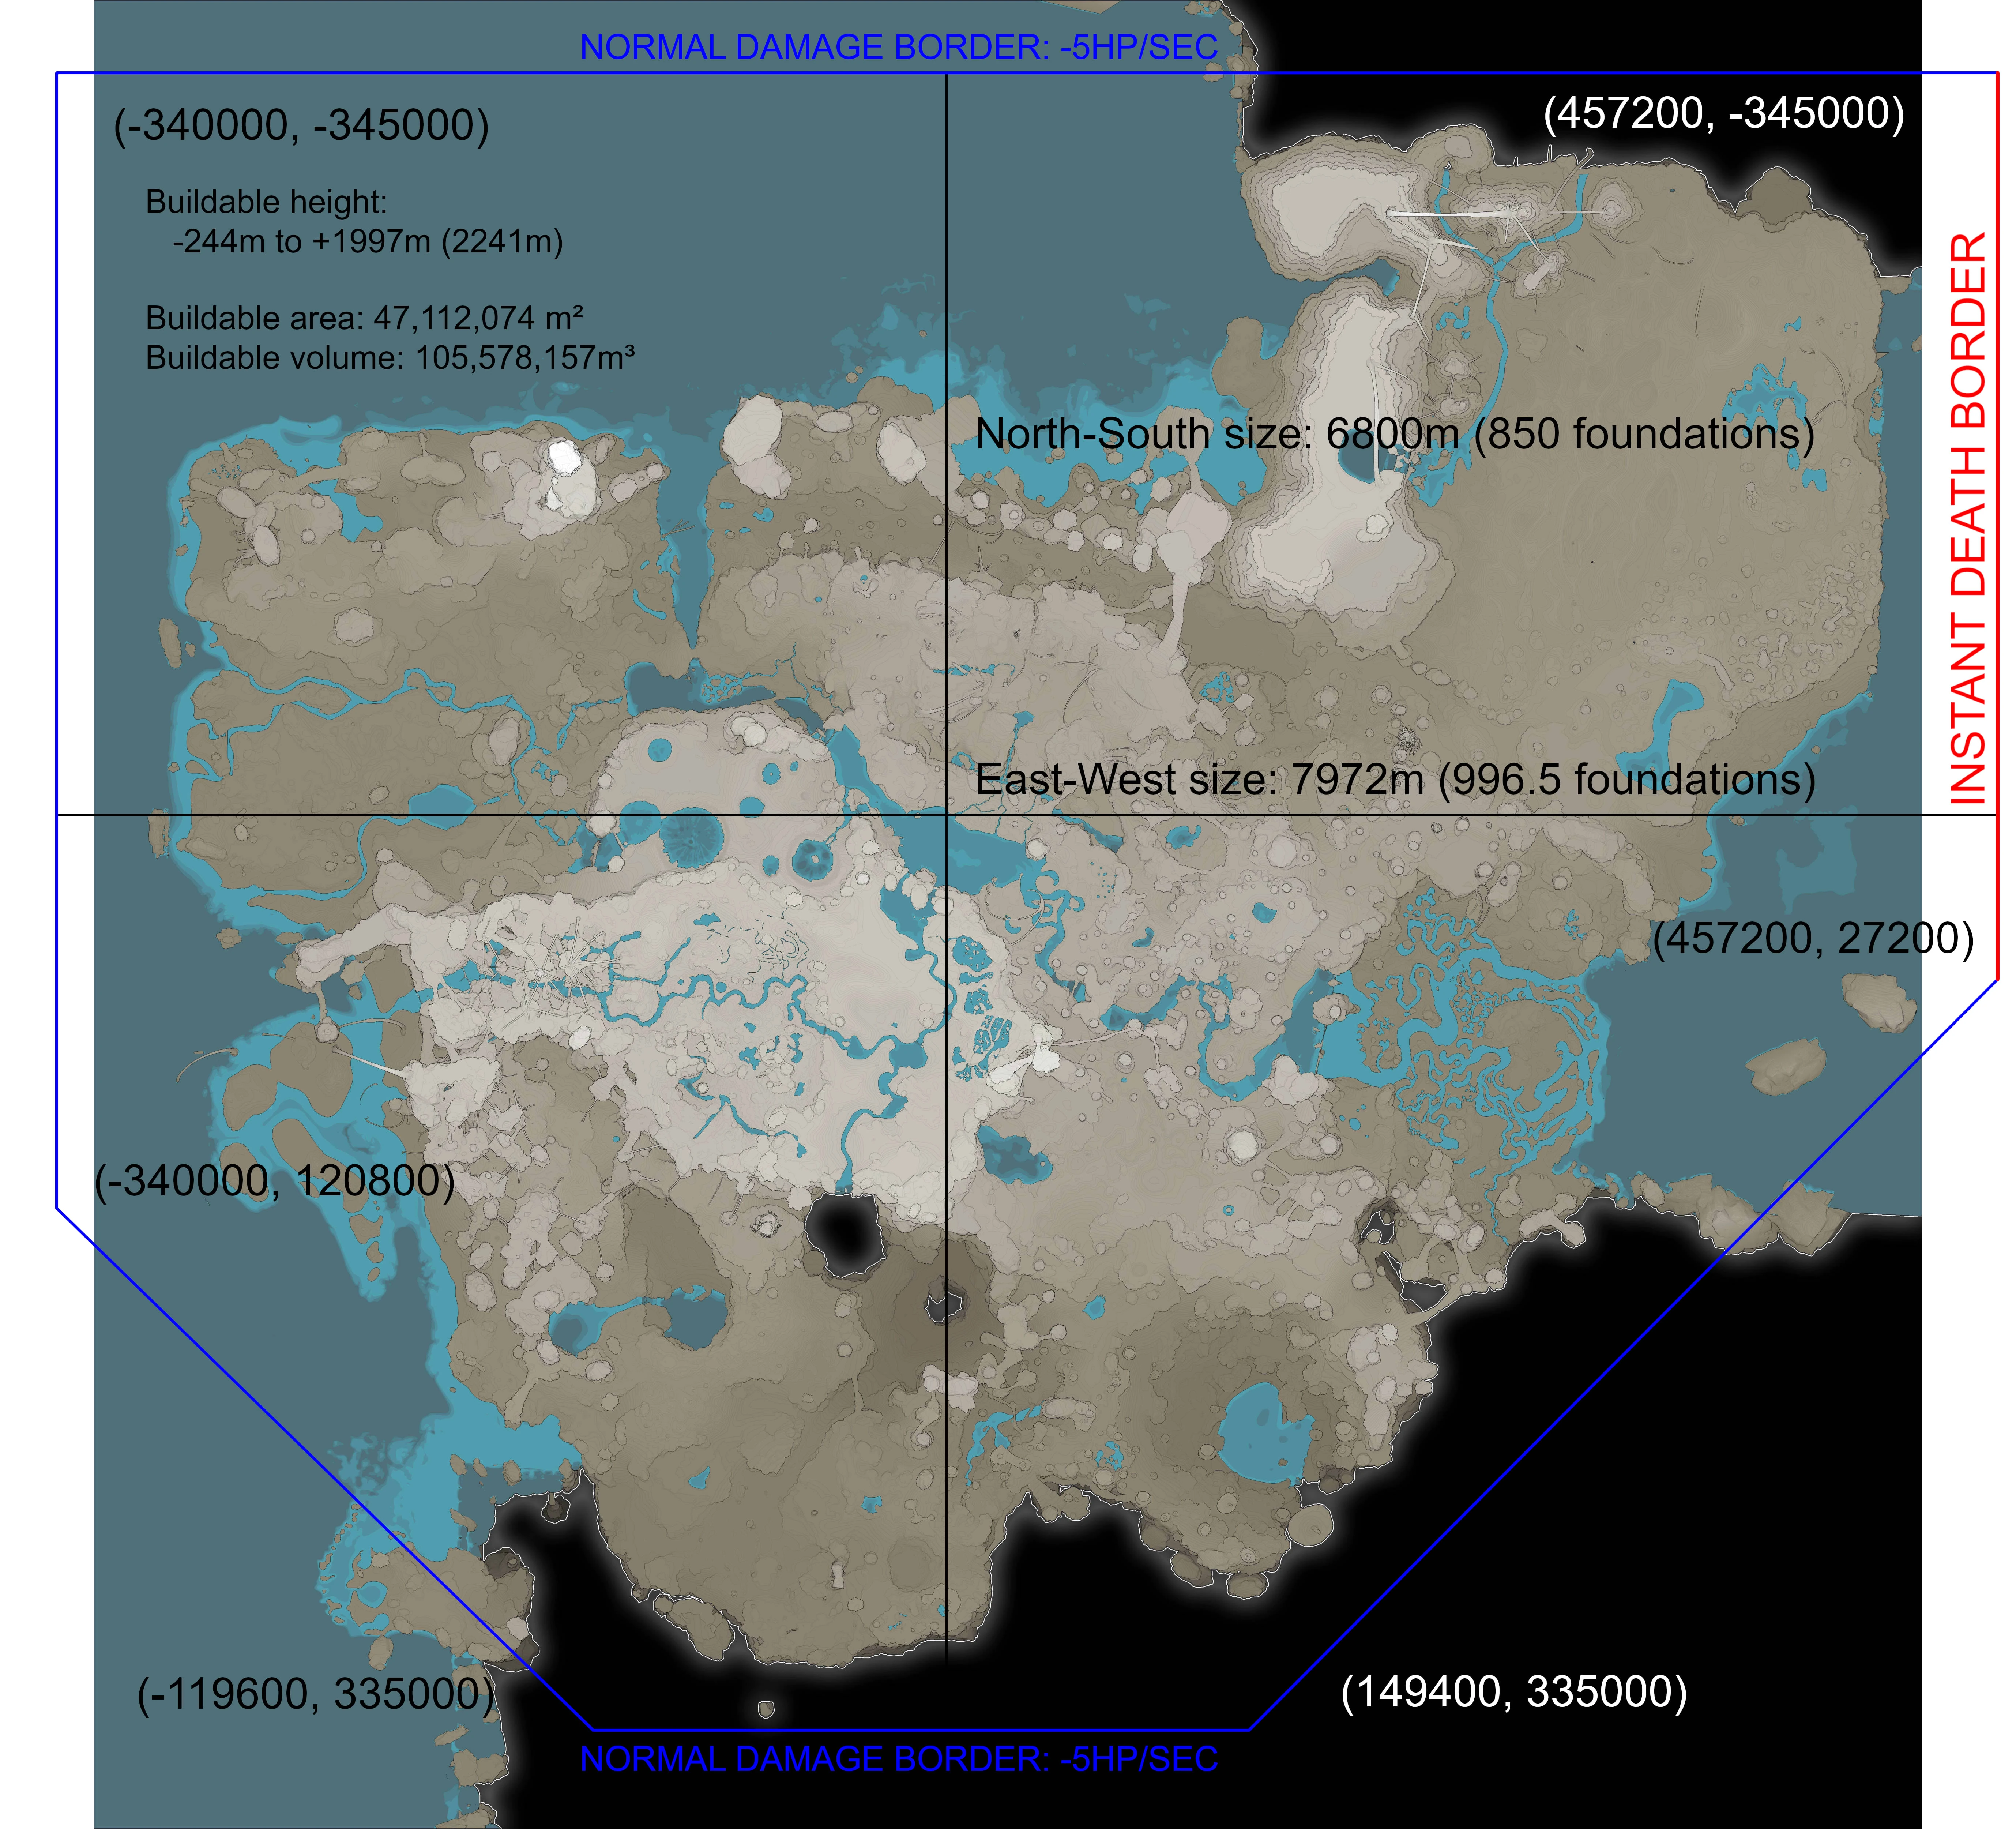

Map border
- The world size is roughly 5.4 km x 5.4 km as mentioned officially. However, this refers to the land mass of the "island", or the playable world. The actual world size, including the void and the sea, is 7.972 km x 6.8 km.
- This translates into 996.5 x 850 foundations.
- Pioneers take damage beyond Z:-244 m (underground) and Z:1997 m (sky), measured on the foundation the pioneer is standing on.
- It is not measured whether the z-axis border is at a uniform height.
- Pioneers can further build out 100 meters beyond the death border while staying within the border. Buildings are not be damaged by this border, but vehicles (that can be damaged) are.
- The theoretical build-able area is 47.112 km2 and volume is 105.578 km3.
- On the x-y plane, it takes at least 736127 Foundations to cover up the entire build-able area.
- The tallest factory building in-game is the AWESOME Sink with 24 meters high, and the slimmest foundation is 1 meter high. This means at least a 89-floor factory can be built, each housing at least a Sink.
- The tallest building of any category in the game is the The HUB which has a height that goes to the skybox. You cannot build anything above the borders for the HUB because the FICSIT Freighter needs access to the open sky to deliver resources to unlock new milestones.
- If The HUB is covered by foundations above, its freighter will clip though it during launching and landing animations.
- The tallest building of any category in the game is the The HUB which has a height that goes to the skybox. You cannot build anything above the borders for the HUB because the FICSIT Freighter needs access to the open sky to deliver resources to unlock new milestones.
- The 'death border' is not a cuboid. On the x-y plane, it is polygon shaped: a square with two triangles removed from the SE and SW corners. The triangle removed from the SE is larger.
- The border along the East side can cause instant death, while the remaining edges only reduce the pioneer's health at 5 HP/sec. When standing near a vertex of the map border, the damage rate is doubled as the pioneer receives the damage from 2 map borders at the same time.
- Surrounding the damage border (marked blue) is the instant death border which is located at some distance beyond that, it is located at all sides including the z-border.
Day and night cycle
One day on Massage-2(A-B)b lasts for 50 real-world minutes, the nighttime is 5 minutes long and the daytime is 45 minutes long. Both the Sun and the Moon rise in the North-West and set in the South-East. There are also several other planets that can be seen hovering on the background of the sky.
As the Sun or Moon move, the shadow of the Space Elevator sweeps around the world, no matter how far the land is from the Space Elevator. This can potentially be used as a sundial.
Gravity
- The world's gravitational acceleration is measured to be about 11.85 m/s² (slightly stronger than Earth's).
- Despite the stronger gravity, pioneers can jump higher and farther in the game than real-life humans.
- When falling from a height, pioneers quickly reach the terminal velocity which is 40 m/s (downward).
- Most creatures, except Stingers, can receive fall damage due to gravity.
Tips
- The selection of a starting zone does not limit the scope of a pioneer's exploration and expansion. A pioneer can both explore and expand their factories and transportation systems into all the biomes available in the new game selection screen.
External links
- The pros and cons of each starting area have been reviewed in these videos:
Trivia
- Internally, the x, y and z coordinates are measured in centimetres (cm).
- The large mountain, visible in the backdrop to the west-southwest, is an accurate resemblance of the real Mount Matterhorn.
Gallery

The starting area selection screen before the game is started.

Concept art of the Satisfactory world.

The Sun rise from the North East.

An area of wooded Grass Fields.
Geysers in the eastern edge of the Southern Forest.
One edge of the world (east of the Swamp)
History
- Patch Closed Alpha 4: Northern Forest starting area introduced.
- Patch Closed Alpha 2.1: Grass Fields is again unlocked.
- Patch Closed Alpha 2: Rocky Desert starting area introduced. Grass Fields locked.
- Patch 2018-10-11: Grass Fields starting area and Southern Forest introduced.
See also
References
- ↑ YouTube - Coffee Stain - June 22nd, 2018 - Q&A: Is the Map procedurally generated?
- ↑ YouTube - Coffee Stain - August 1st, 2018 - Q&A #3: Pipes, Research, Vehicles + more!
- ↑ YouTube - Coffee Stain - October 24th, 2019 - Developer Highlight - Level Design
- ↑ 4.0 4.1 GitHub - Goz3rr - April 10th, 2019 - Satisfactory Save Editor - Wiki - All Minimap Regions
- ↑ YouTube - Coffee Stain - August 1st, 2018 - Q&A: Won't the factory stop working if you're really far away?
| |||||||||||